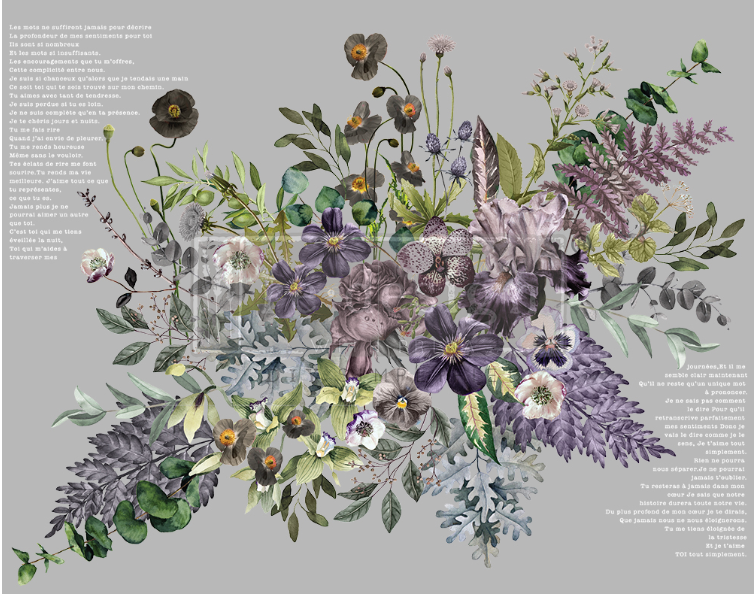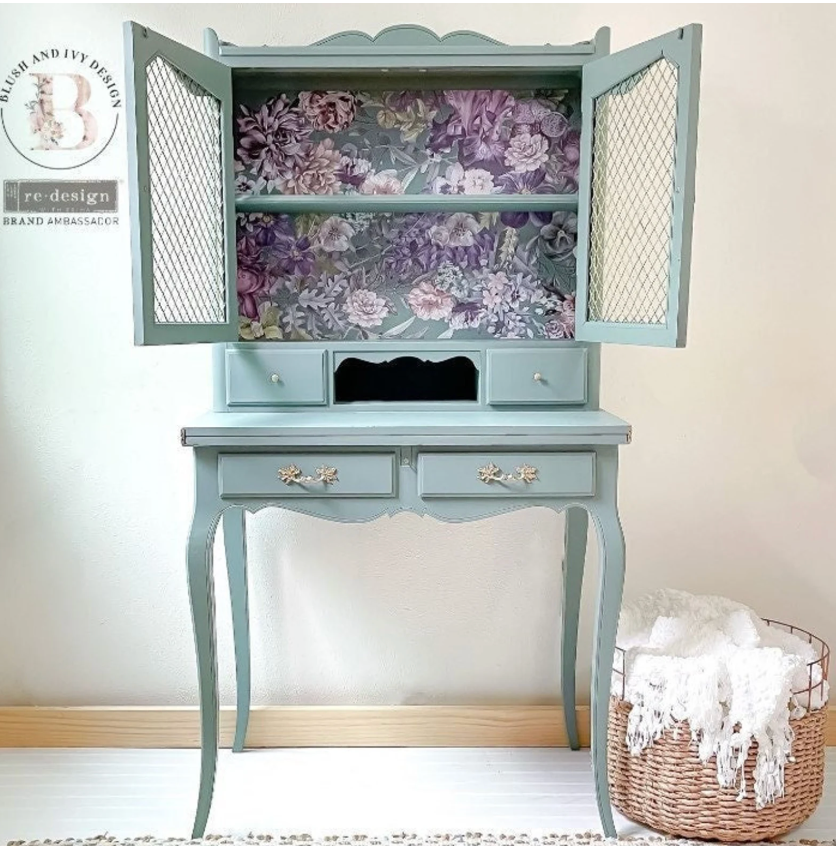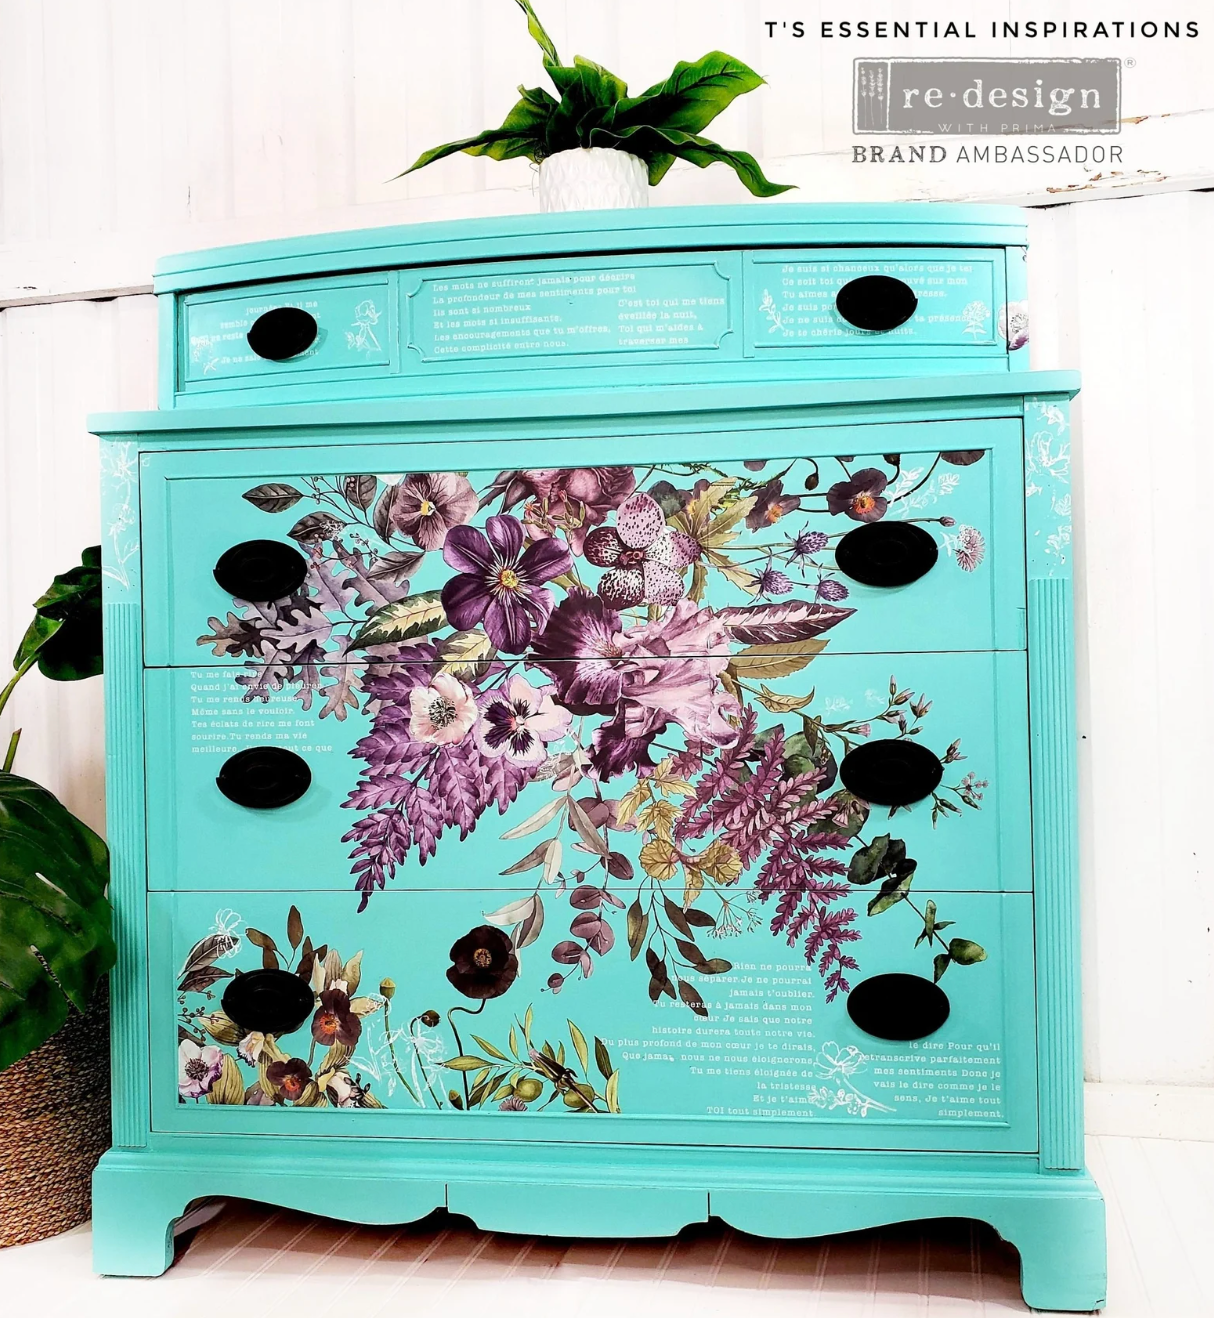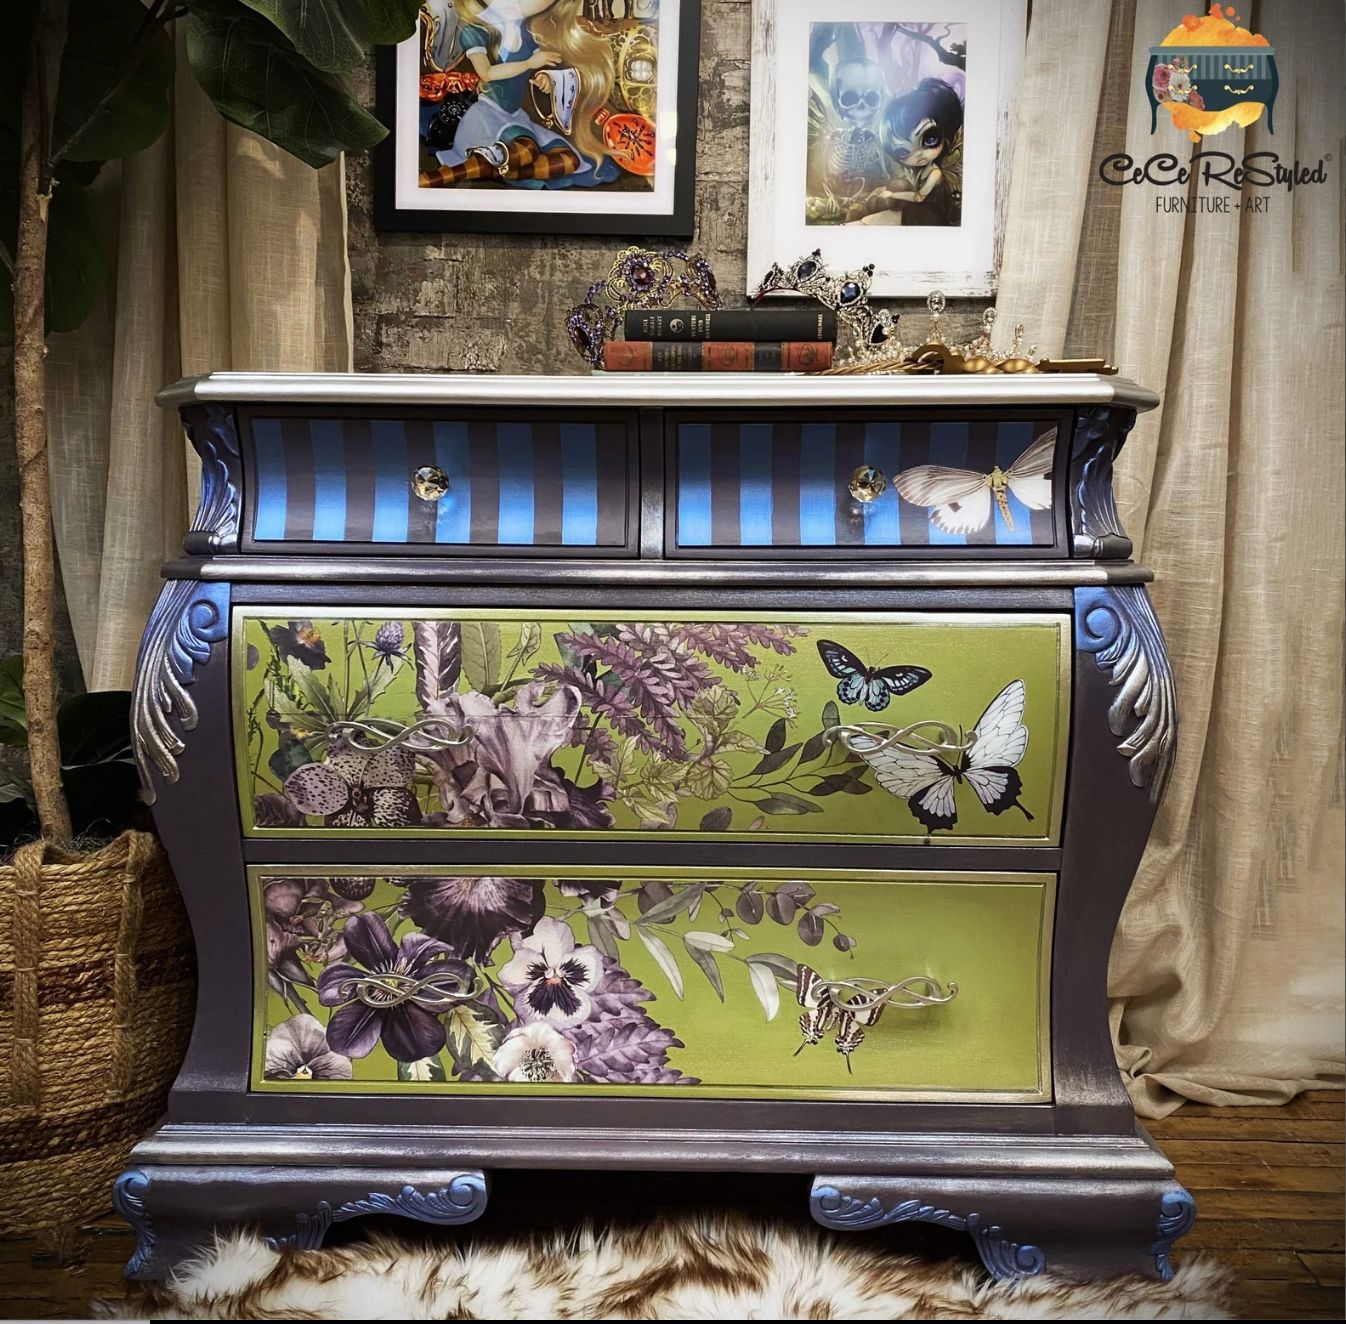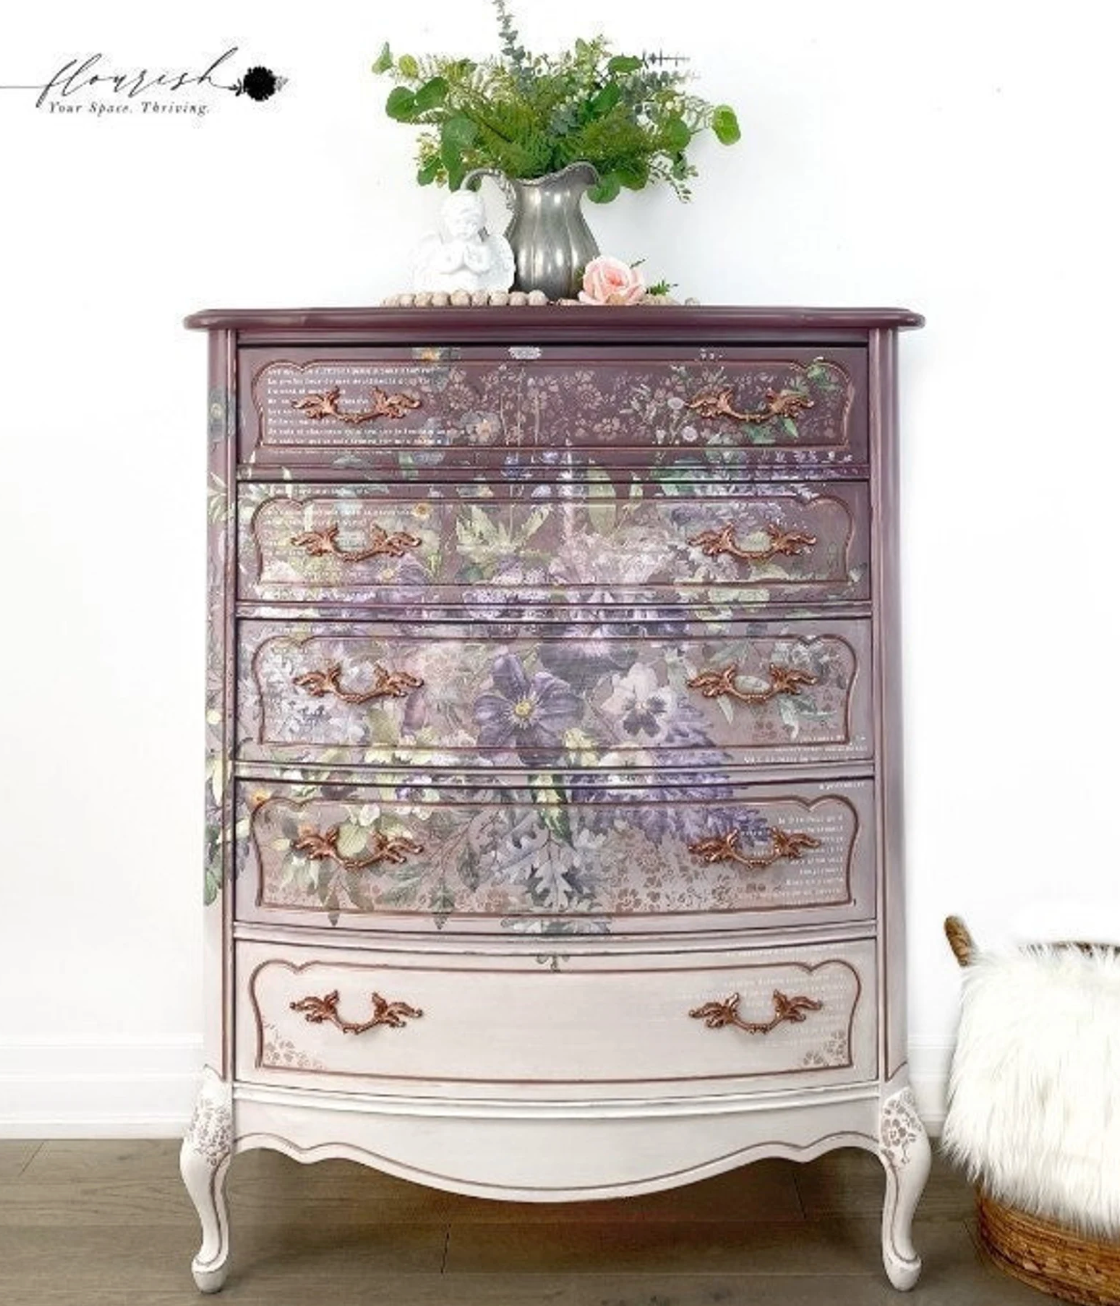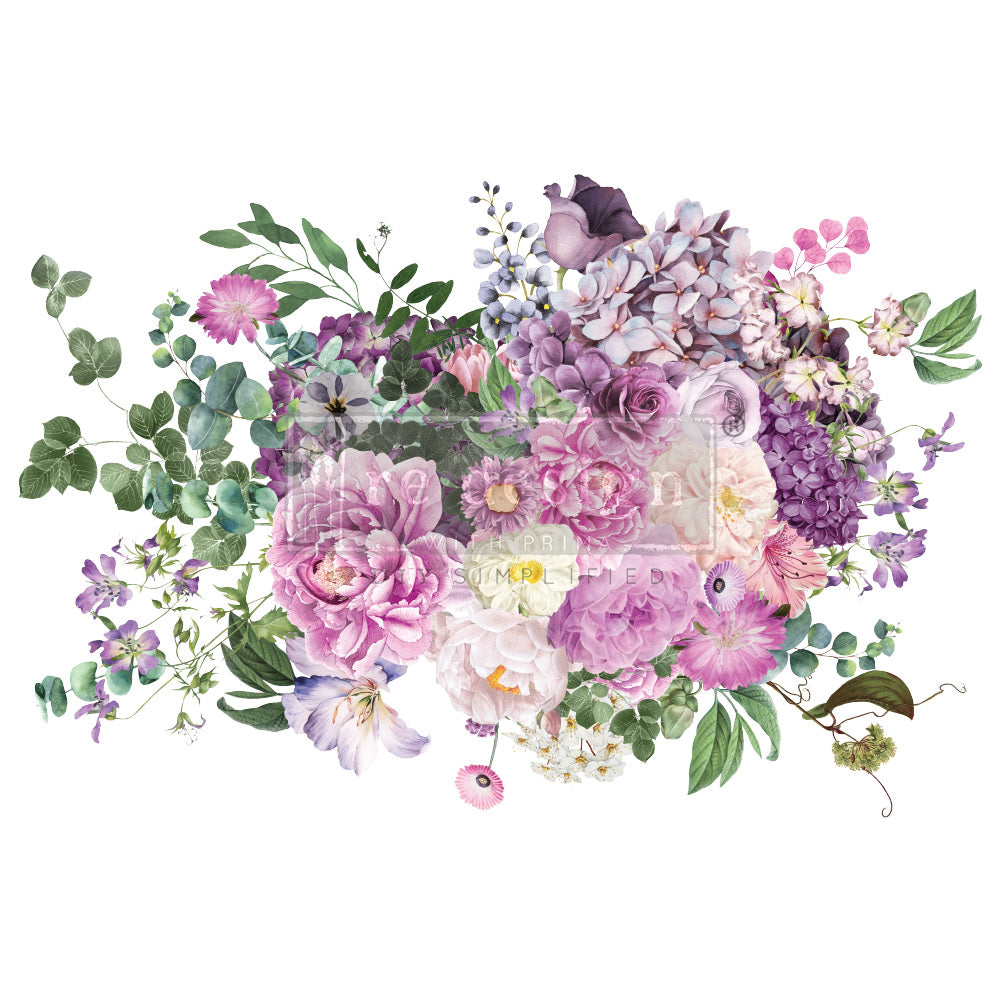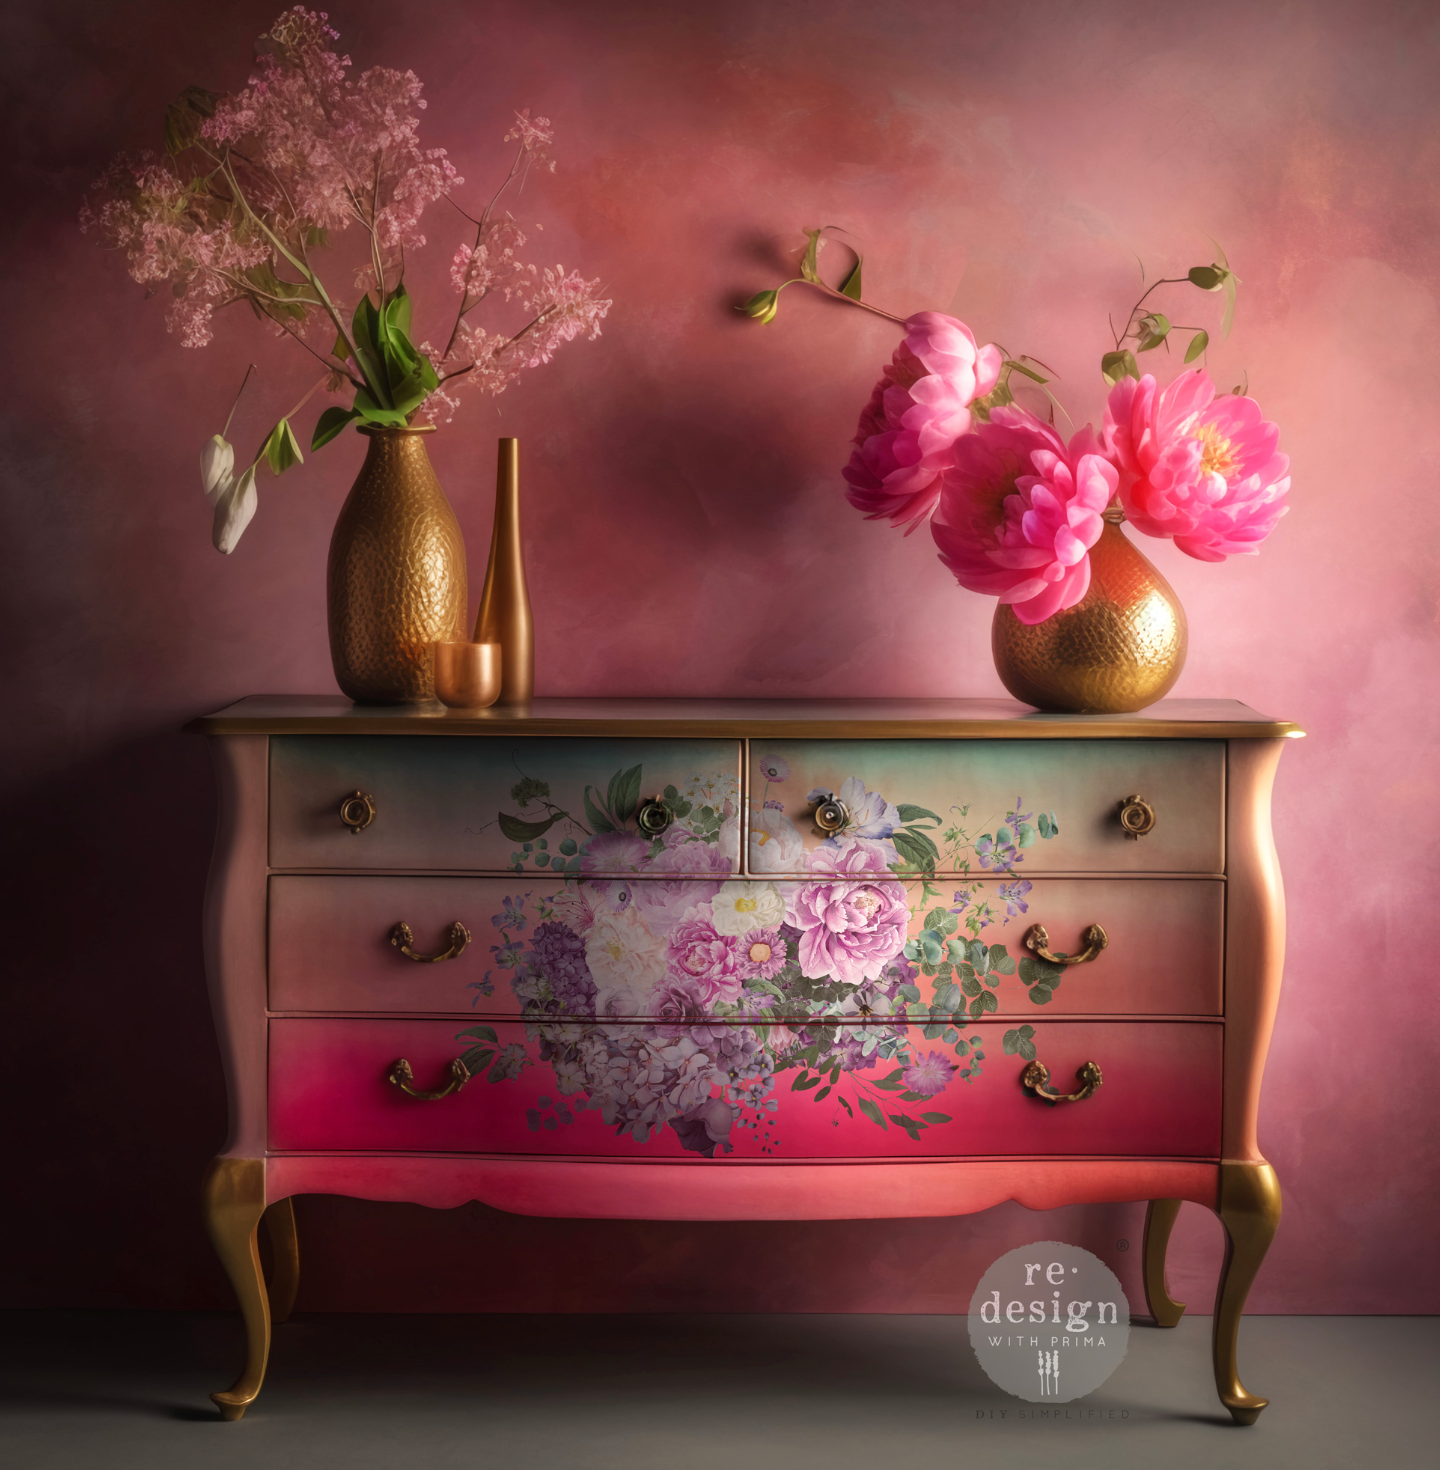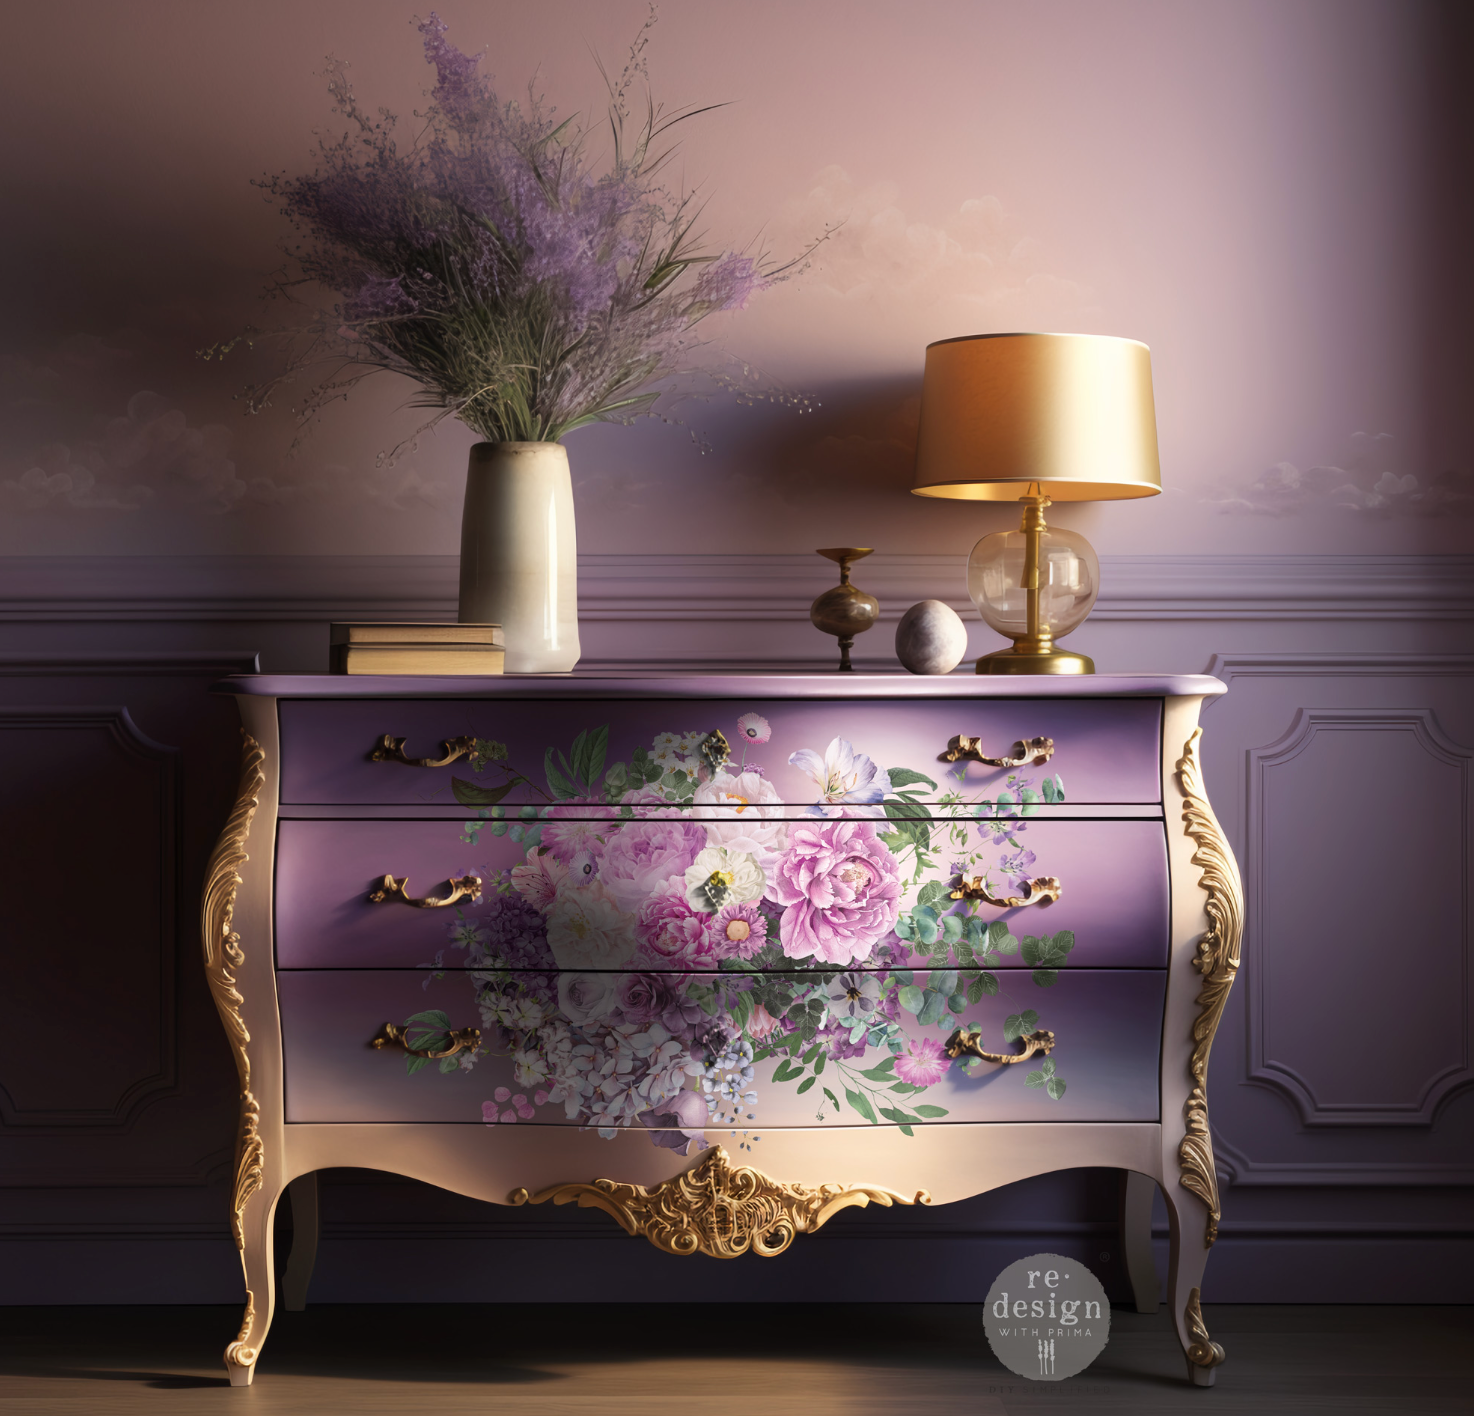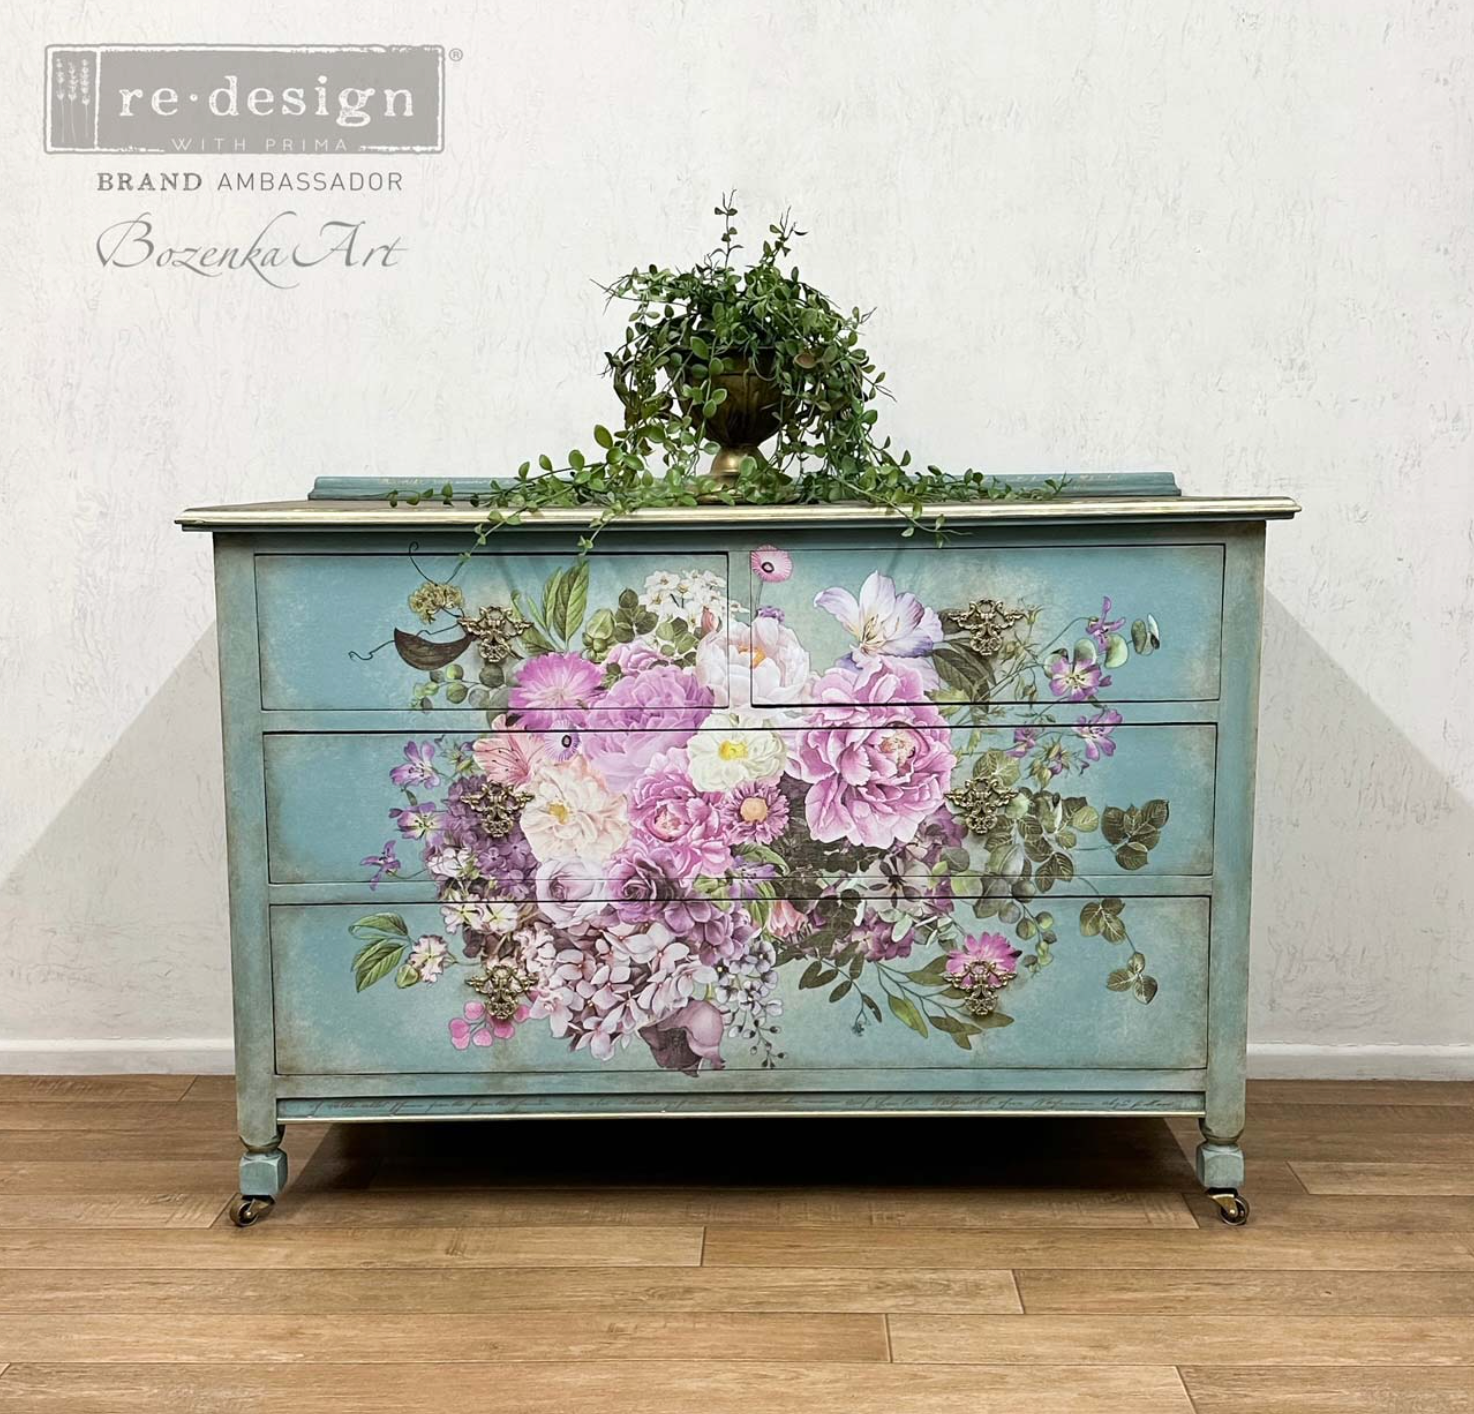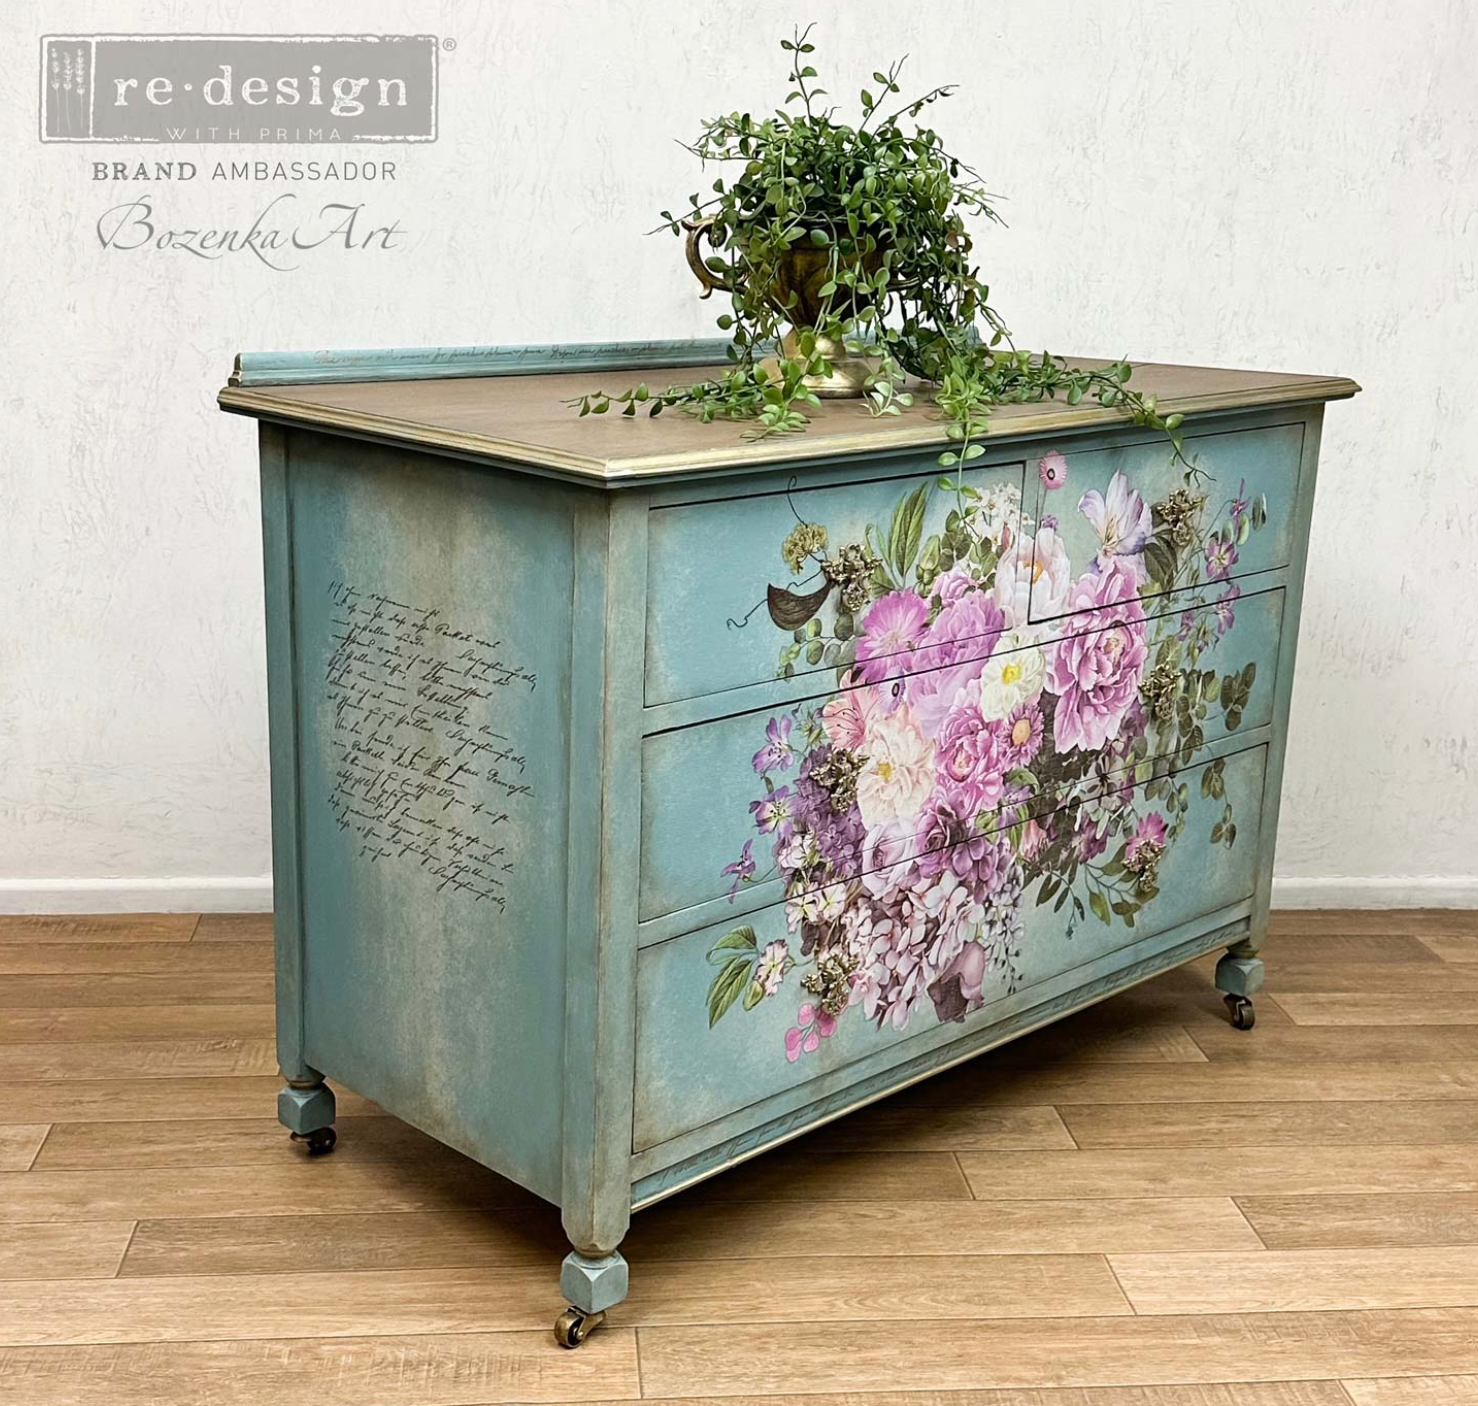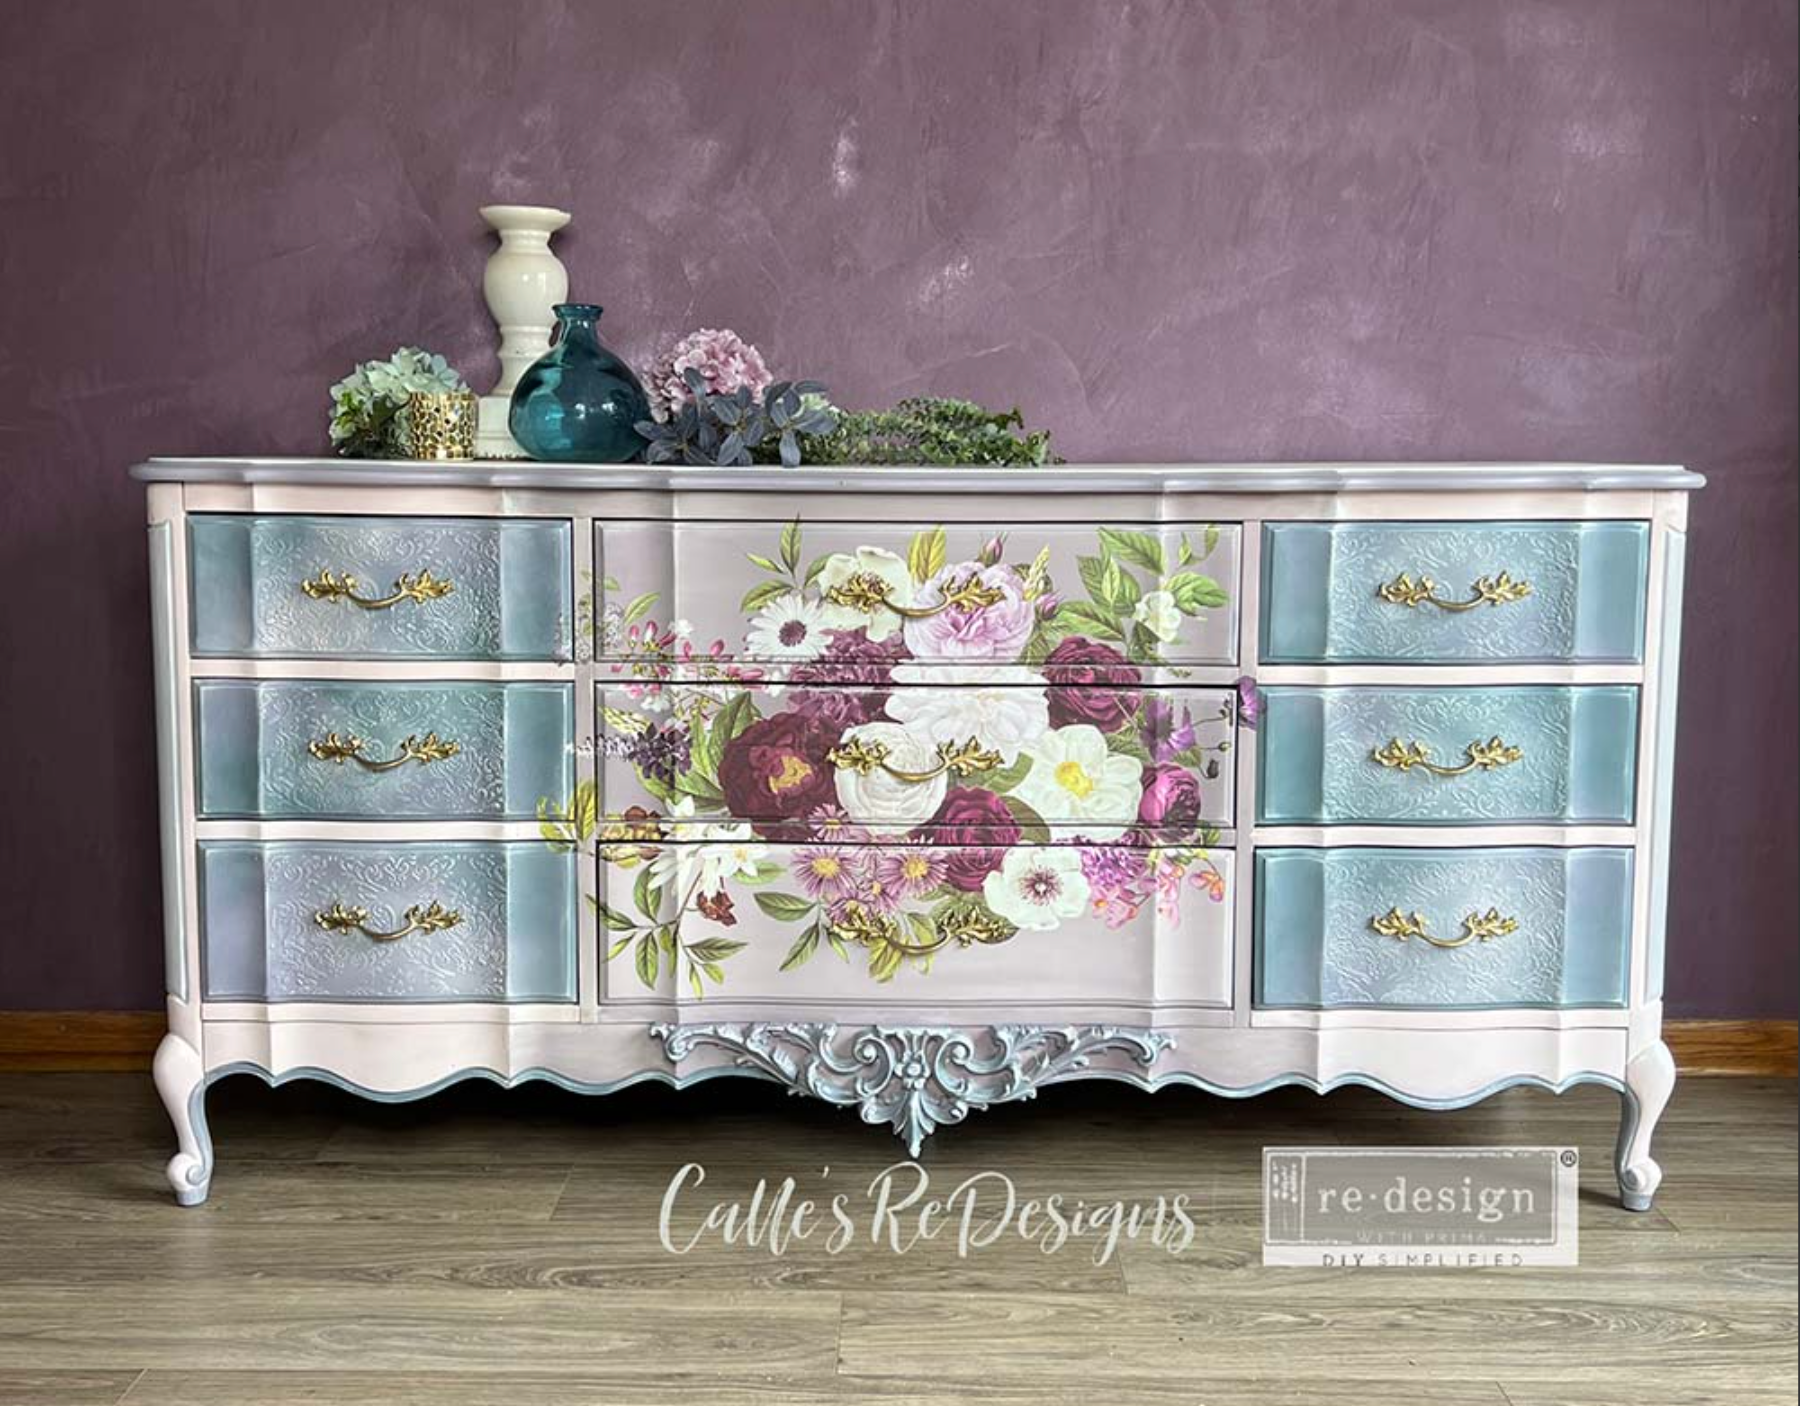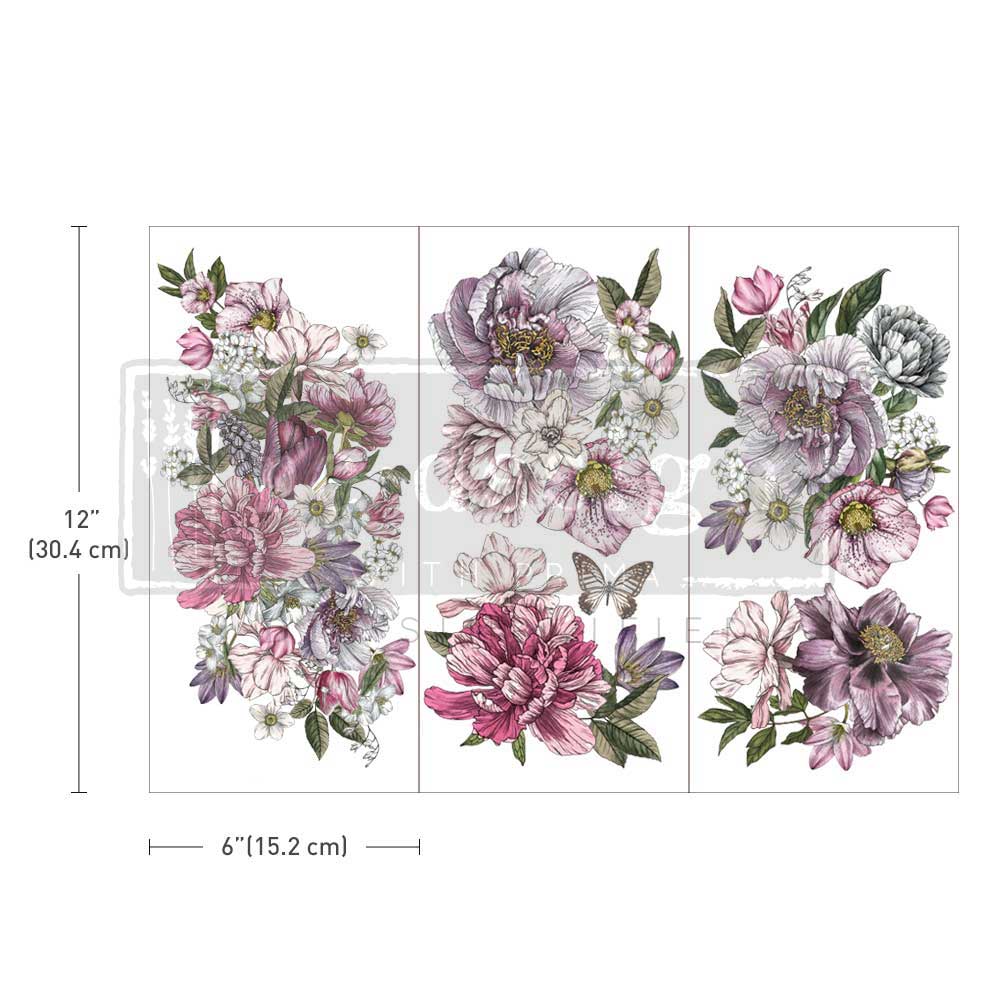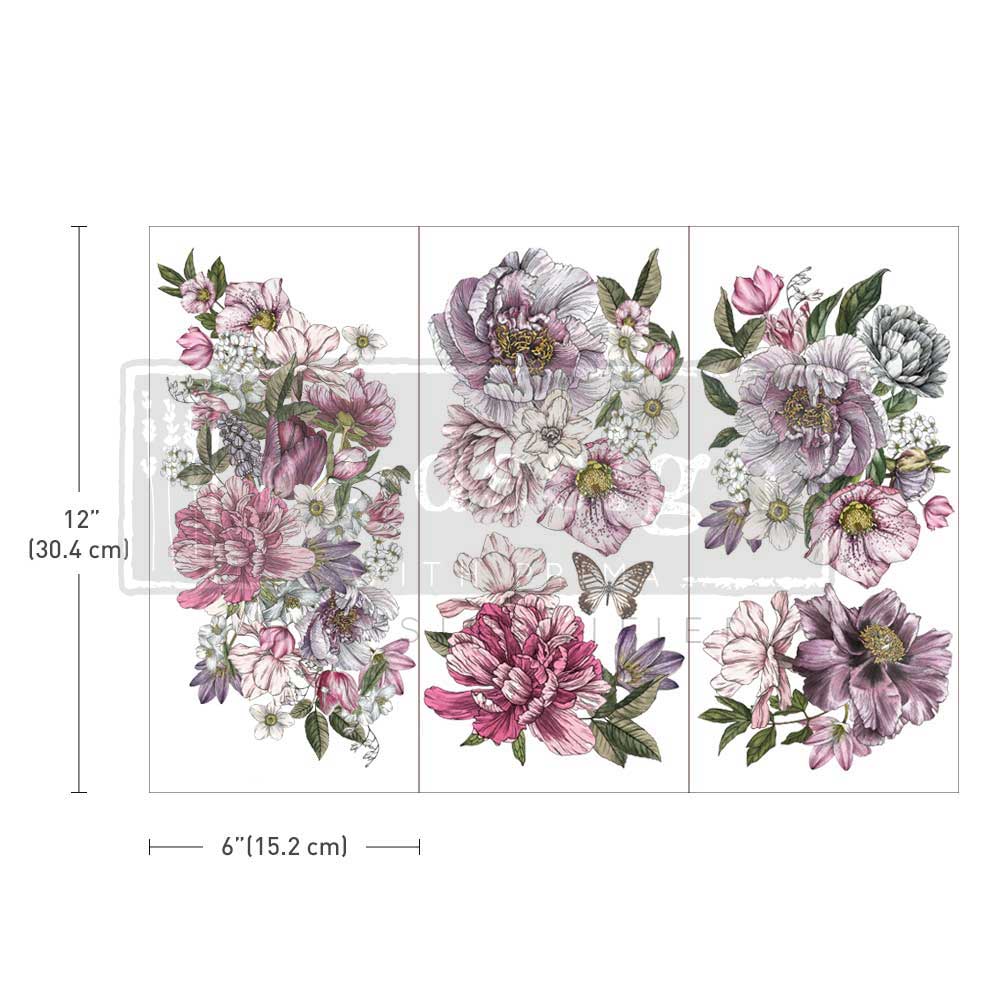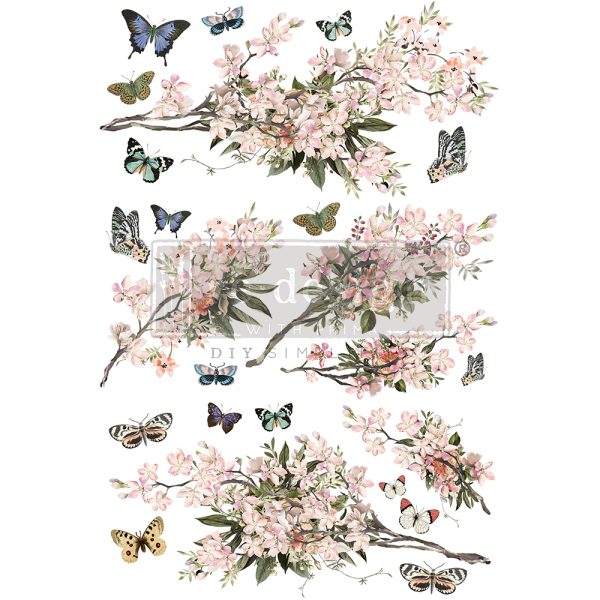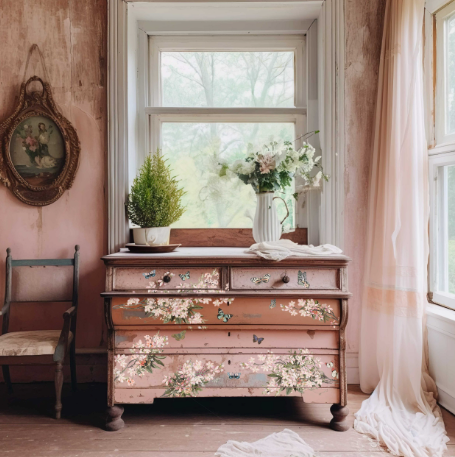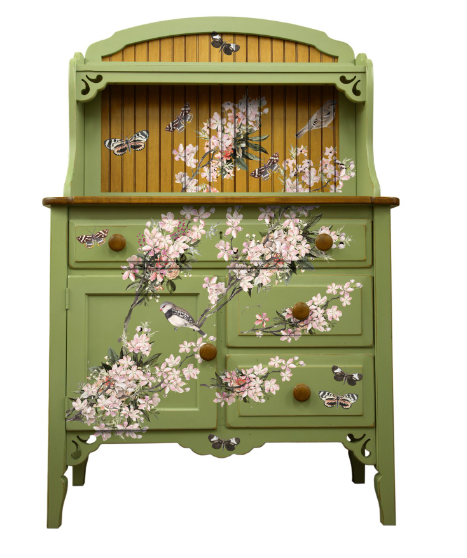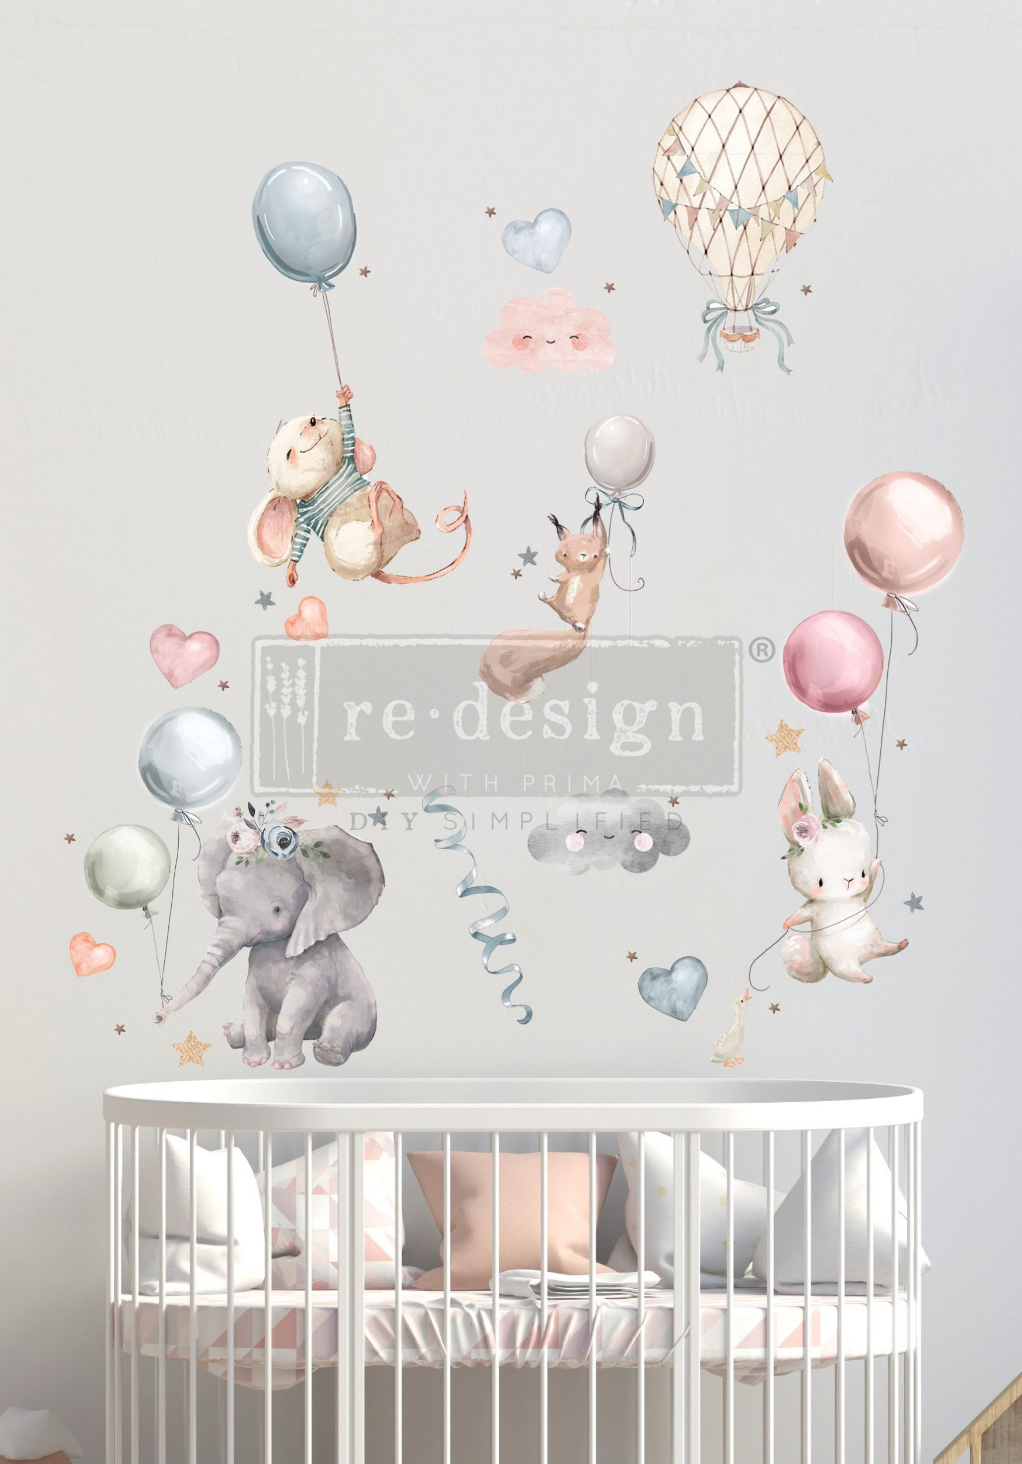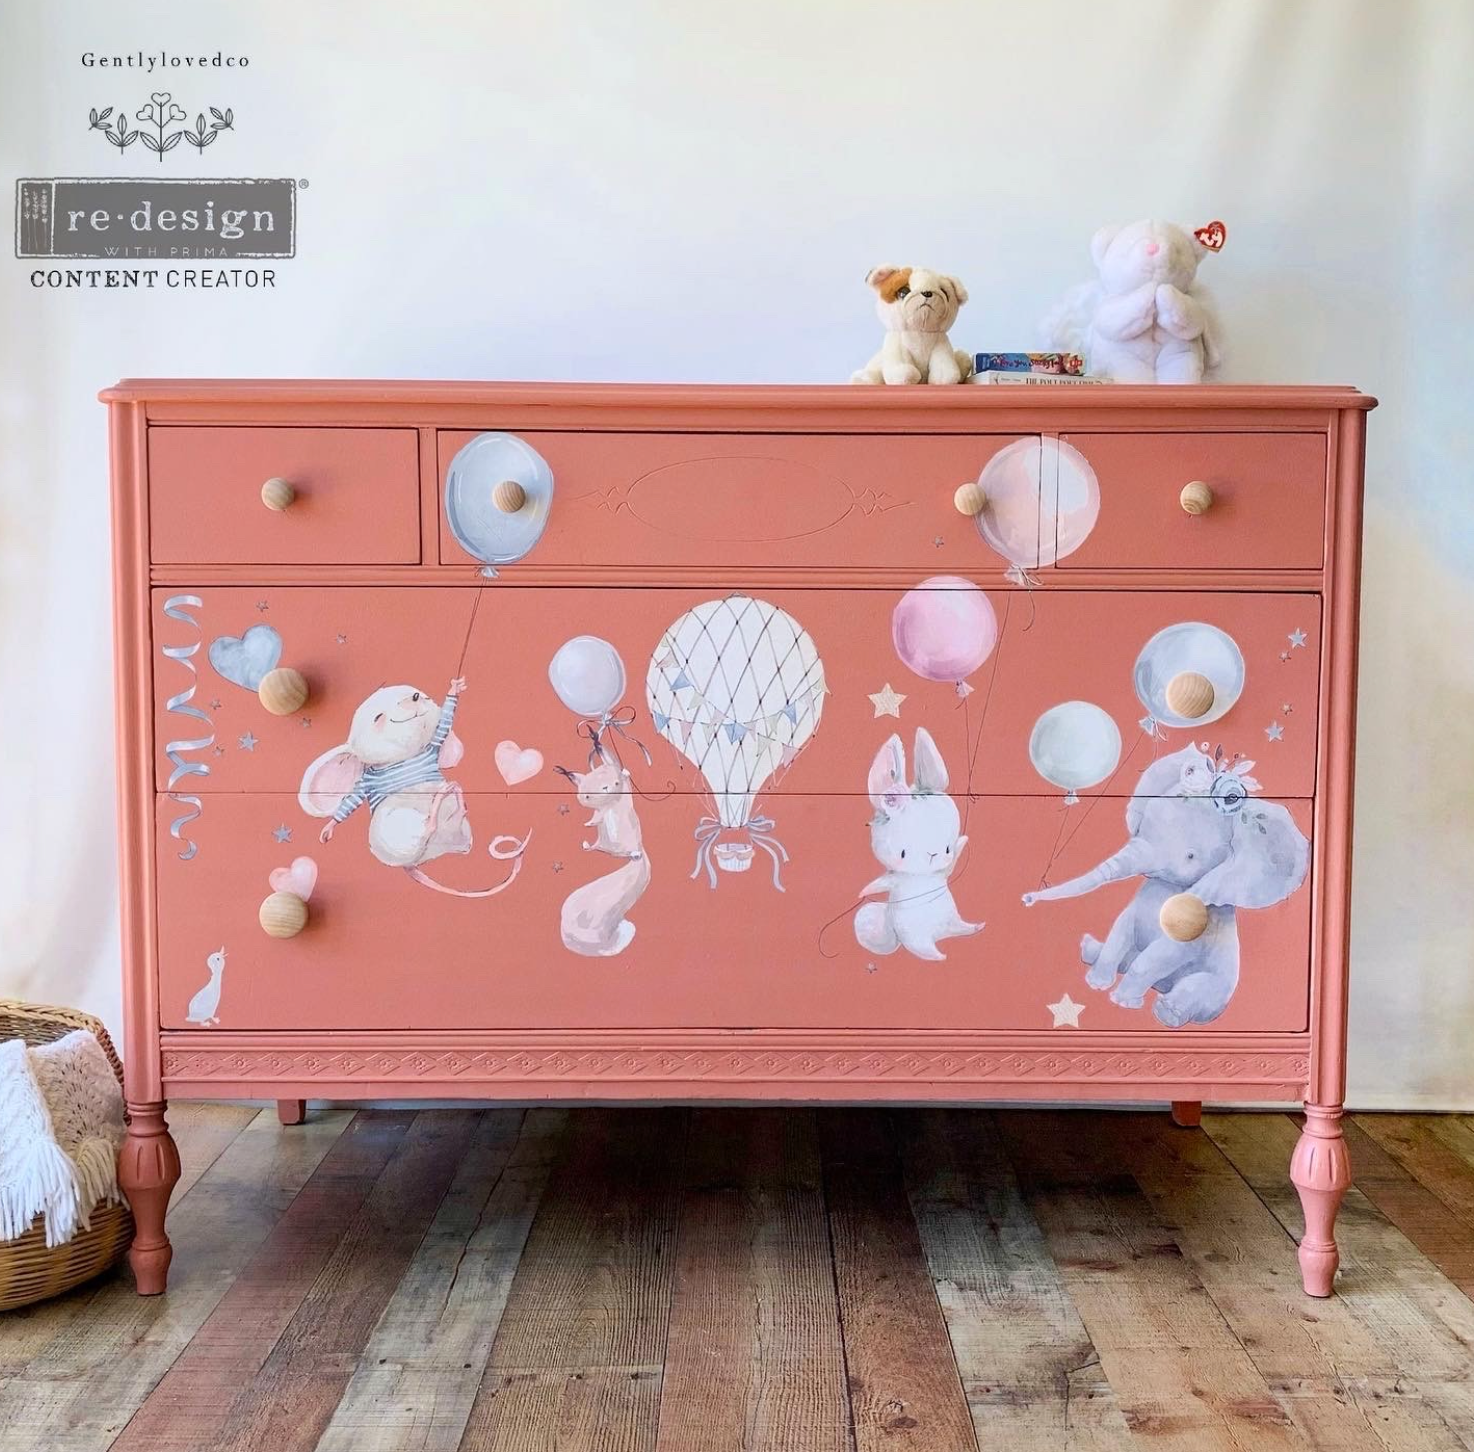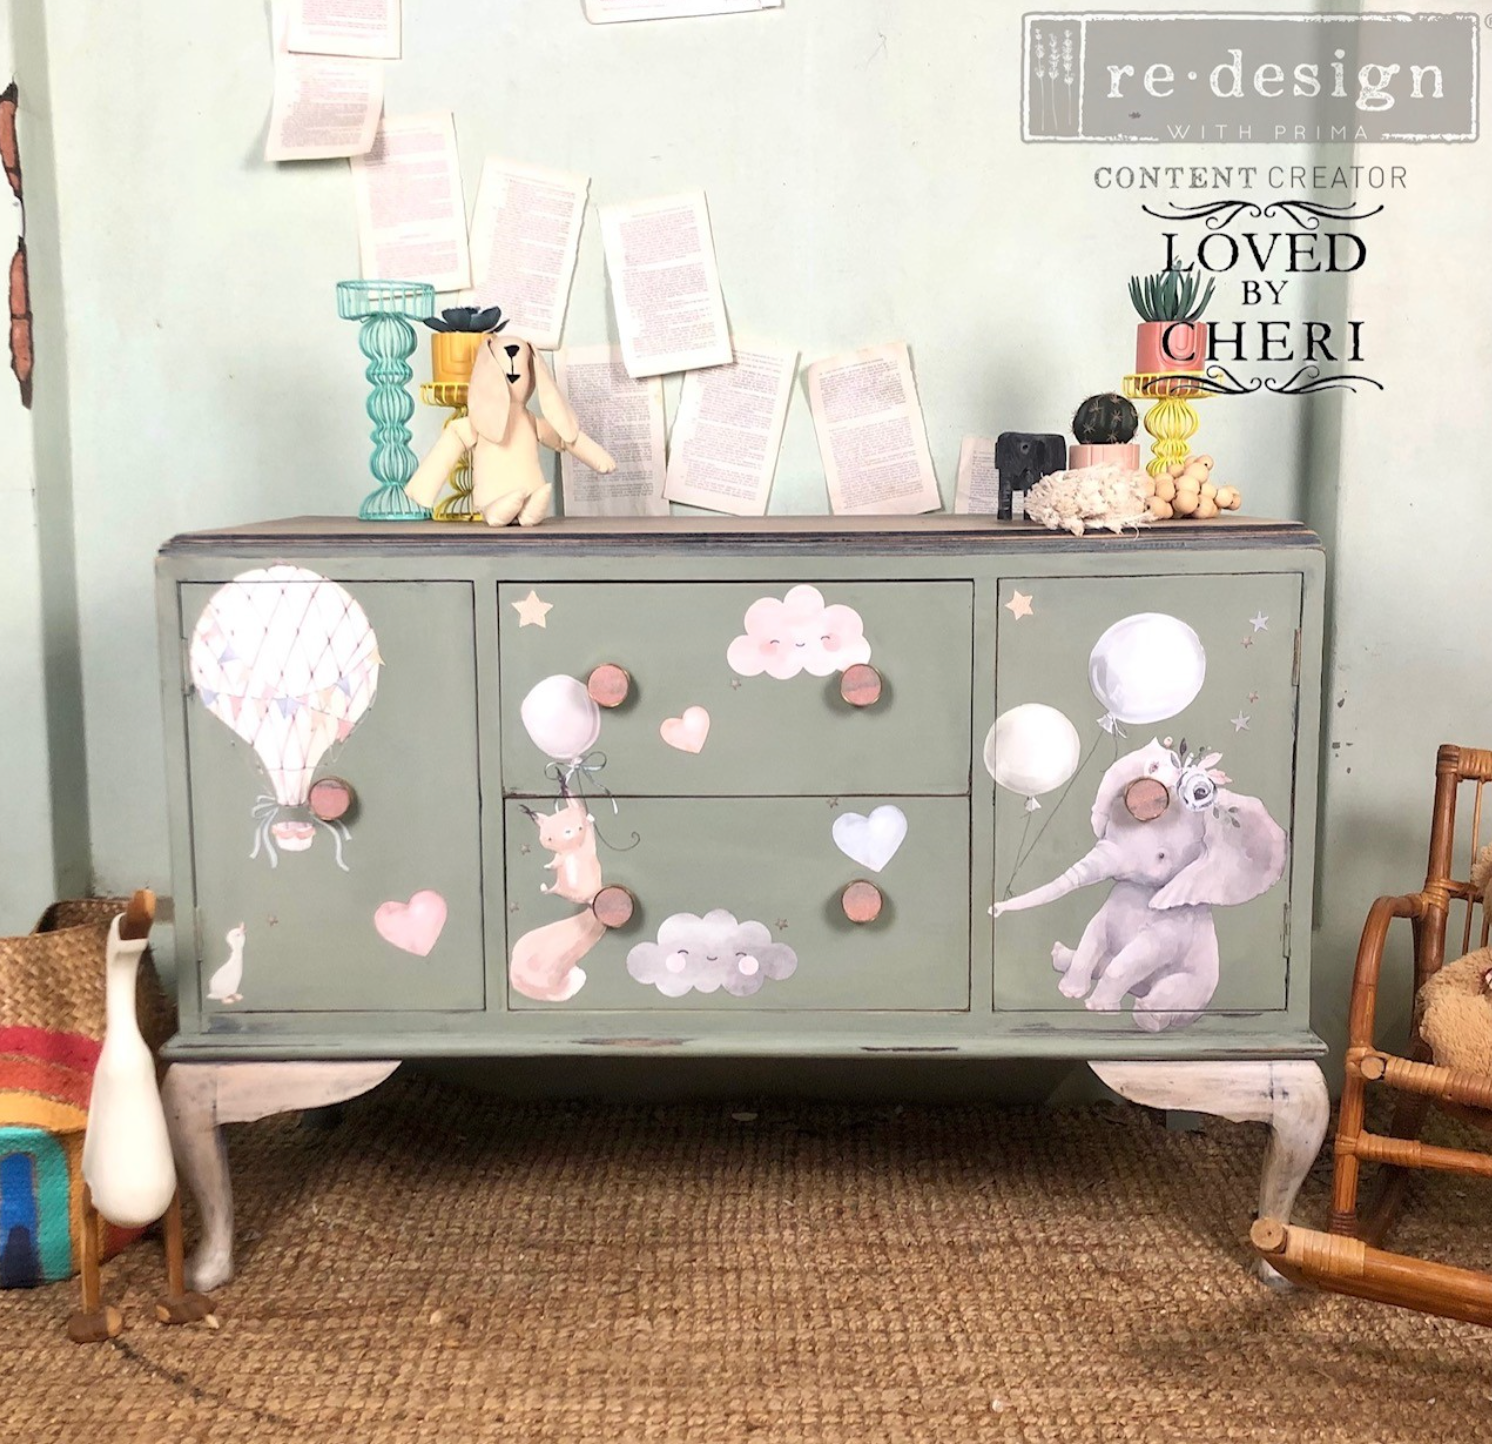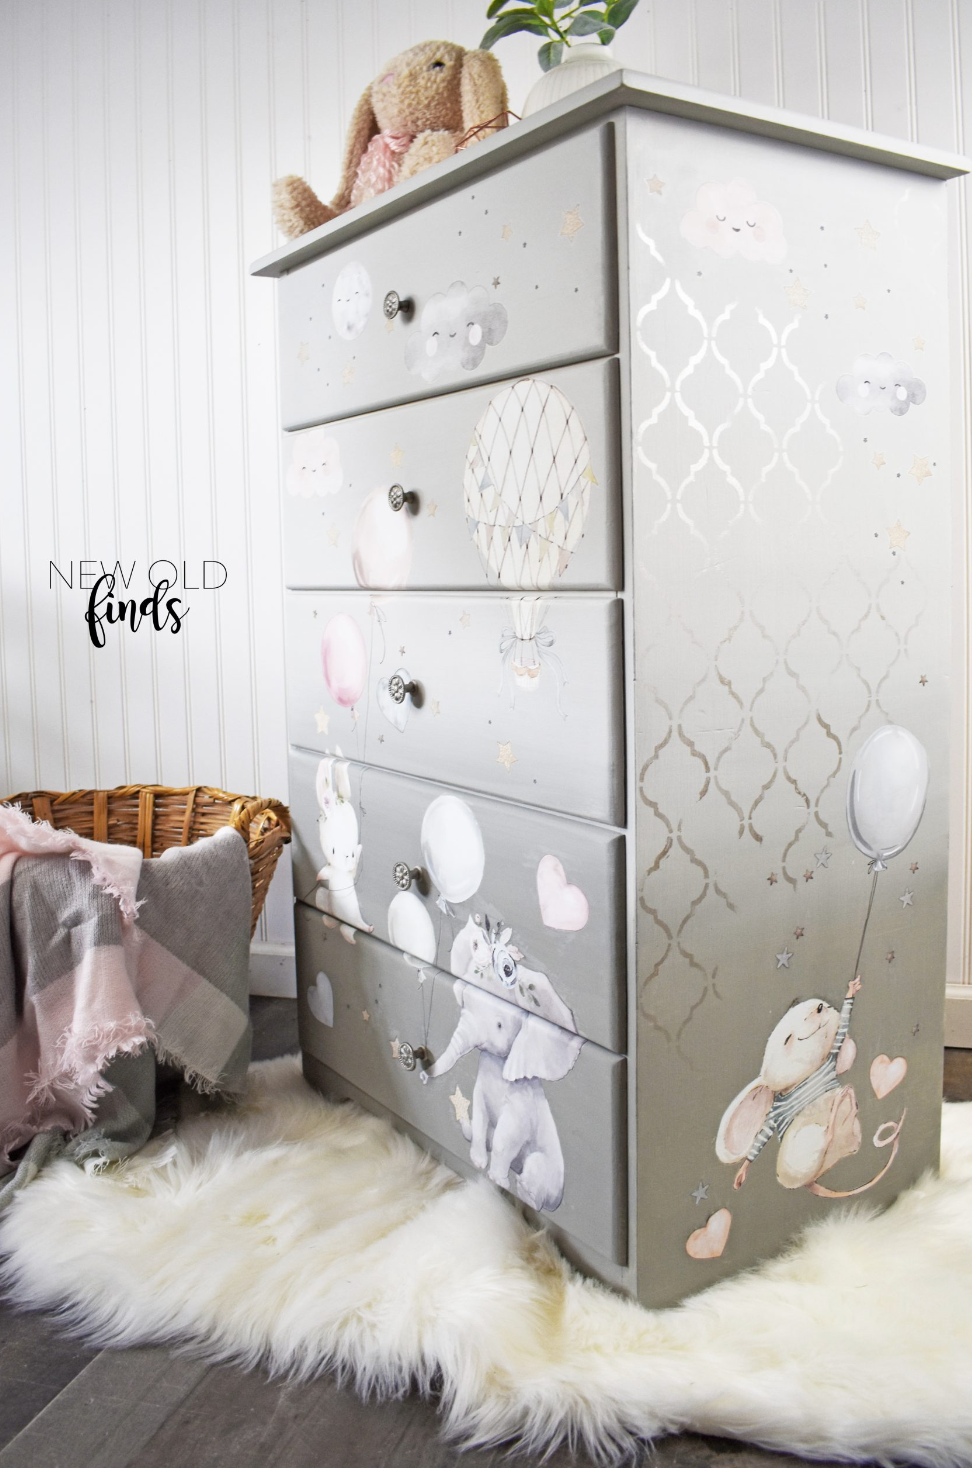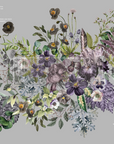
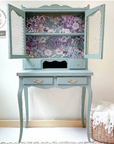
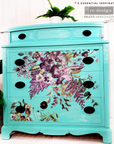
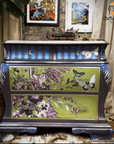
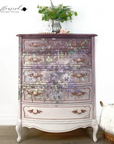
Decor Transfers® - Vigorous Violet
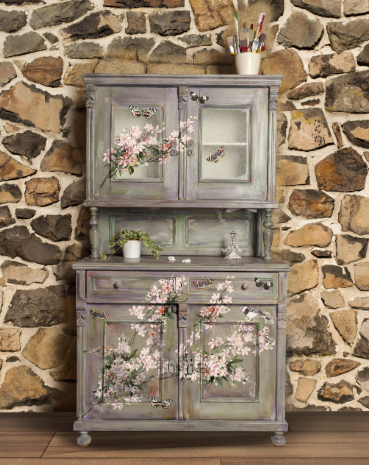
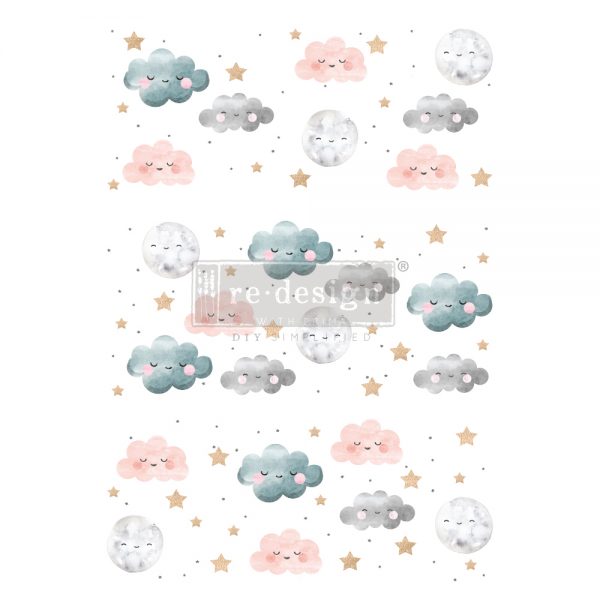
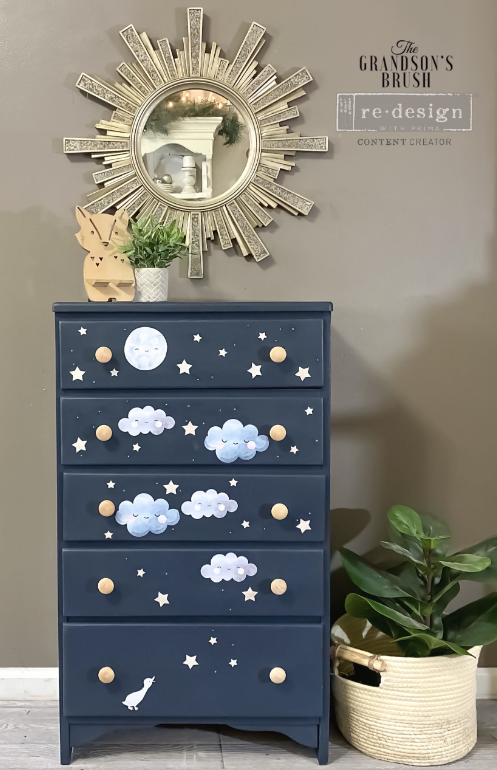
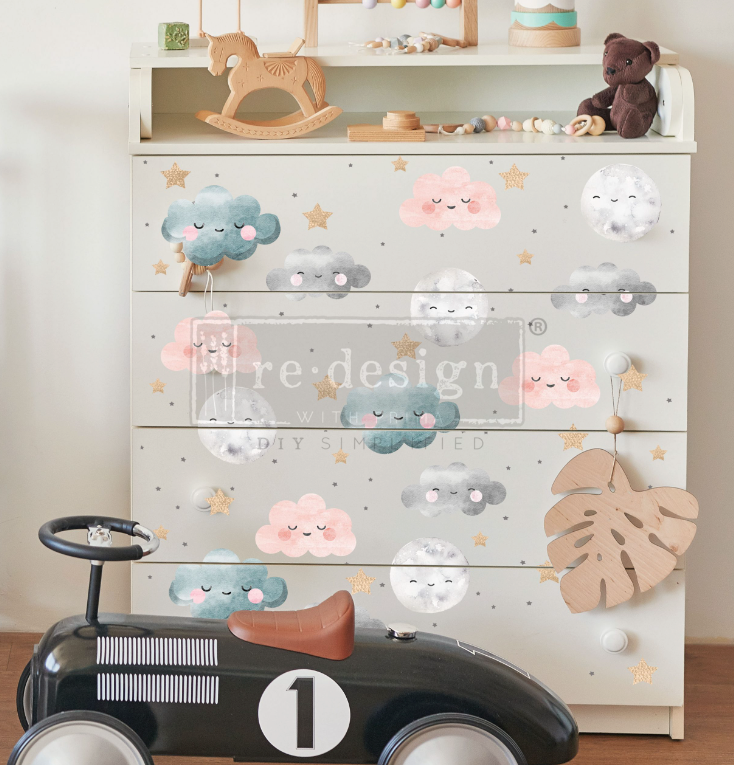
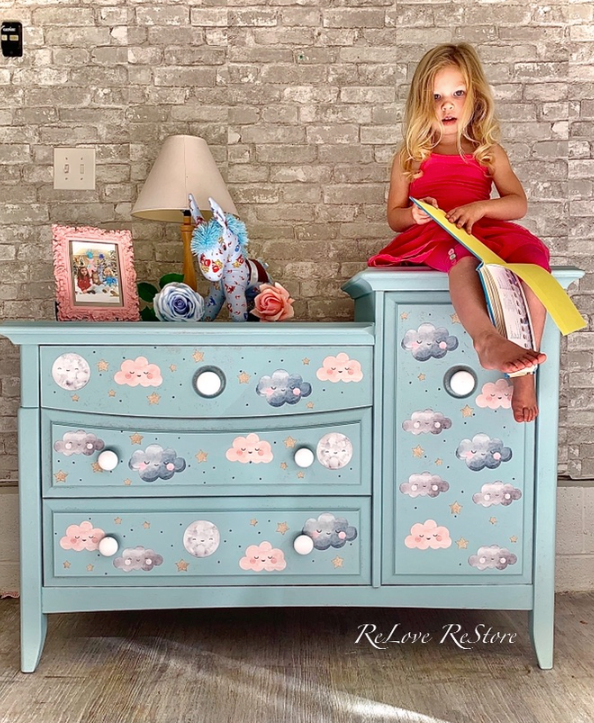
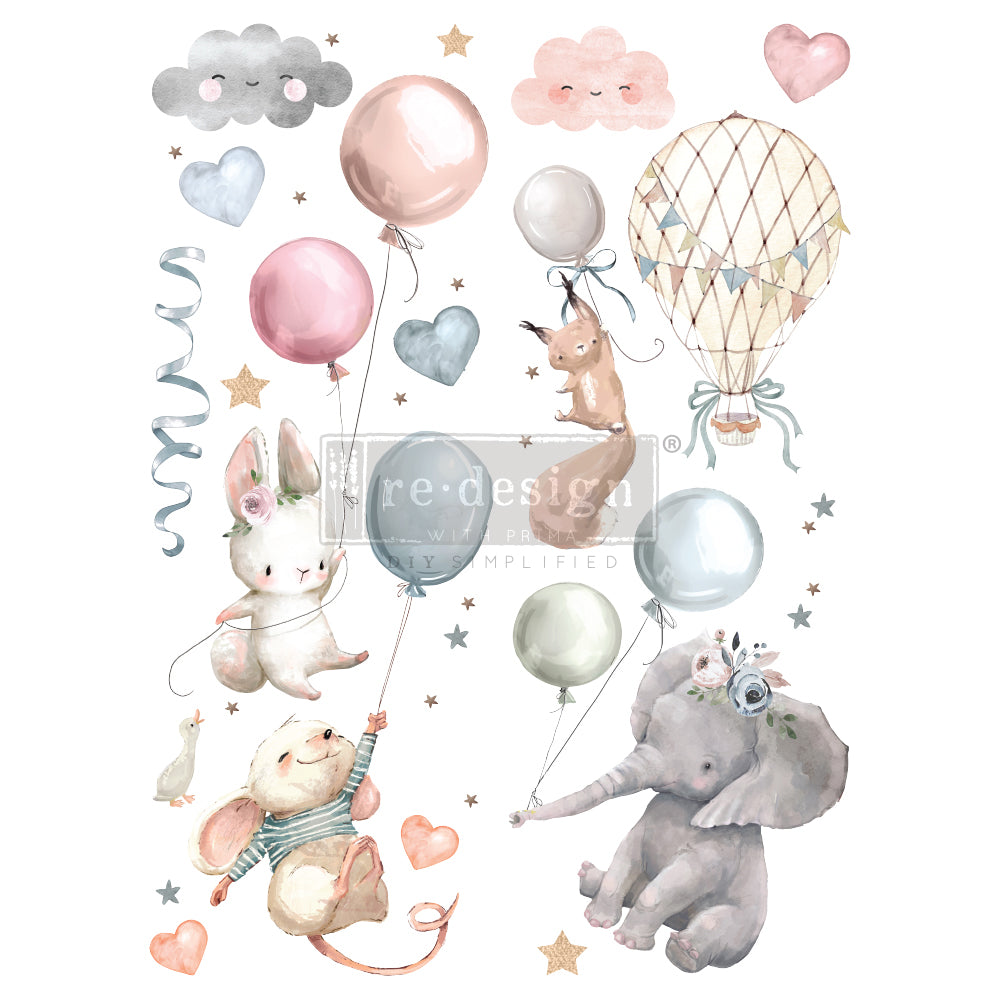
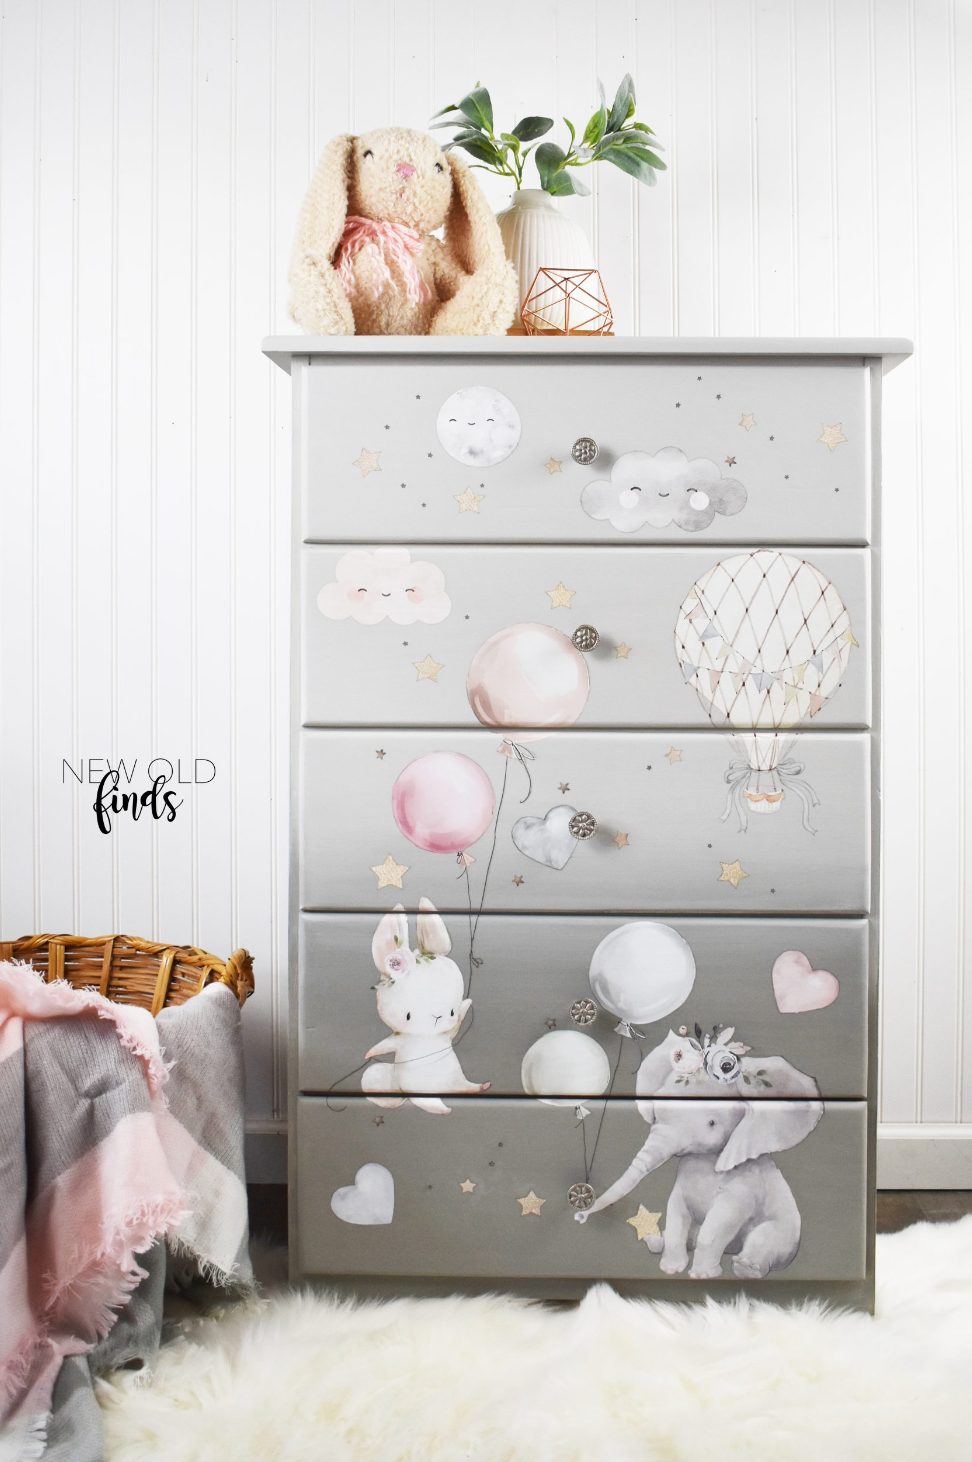
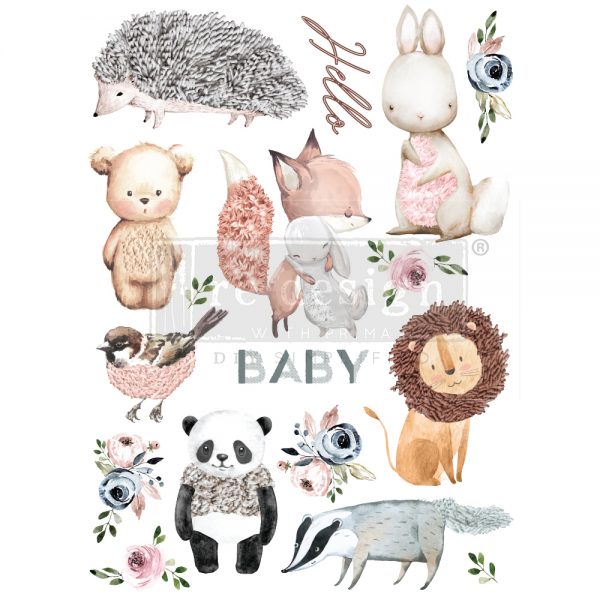
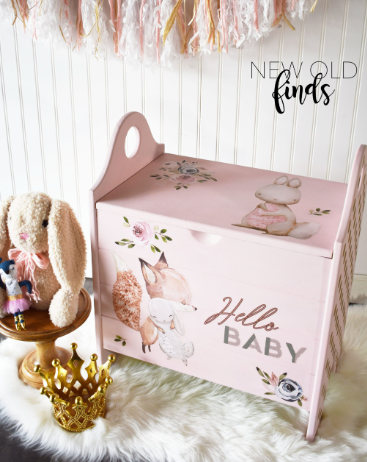
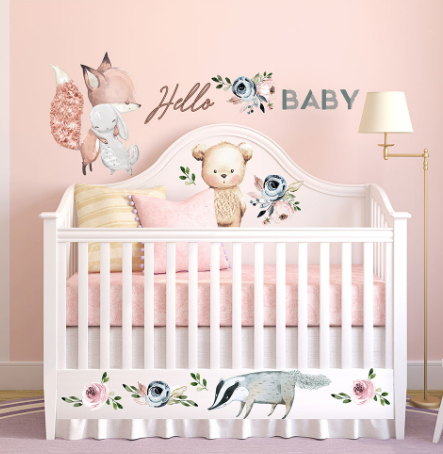
With high-quality transfer images, you can easily create picturesque patterns on furniture.
Instructions for using transfers:
- The transfers are either in a tube or in a plastic film package. The tube includes a wooden spatula.
- Inauguration:
- TUBE: Large and medium-sized decals are in a tube. Carefully open the tube from the end and take out the decal rolled up. The roll contains 2-3 sheets. Carefully open the roll onto a table and make sure that the backing paper remains attached to the transparent decal film.
- PLASTIC FILM PACKAGING: small transfers are on sheets. Take out the transfer sheet and cut out the desired parts from the sheet. Make sure that the backing paper remains attached to the transparent transfer film.
- The transfer image is extremely sensitive to sticking, so be careful not to touch the mounting surface (the white surface behind the image)
- Measure and arrange the design on your desired surface, either completely or cut out the appropriate parts from the transfer sheet.
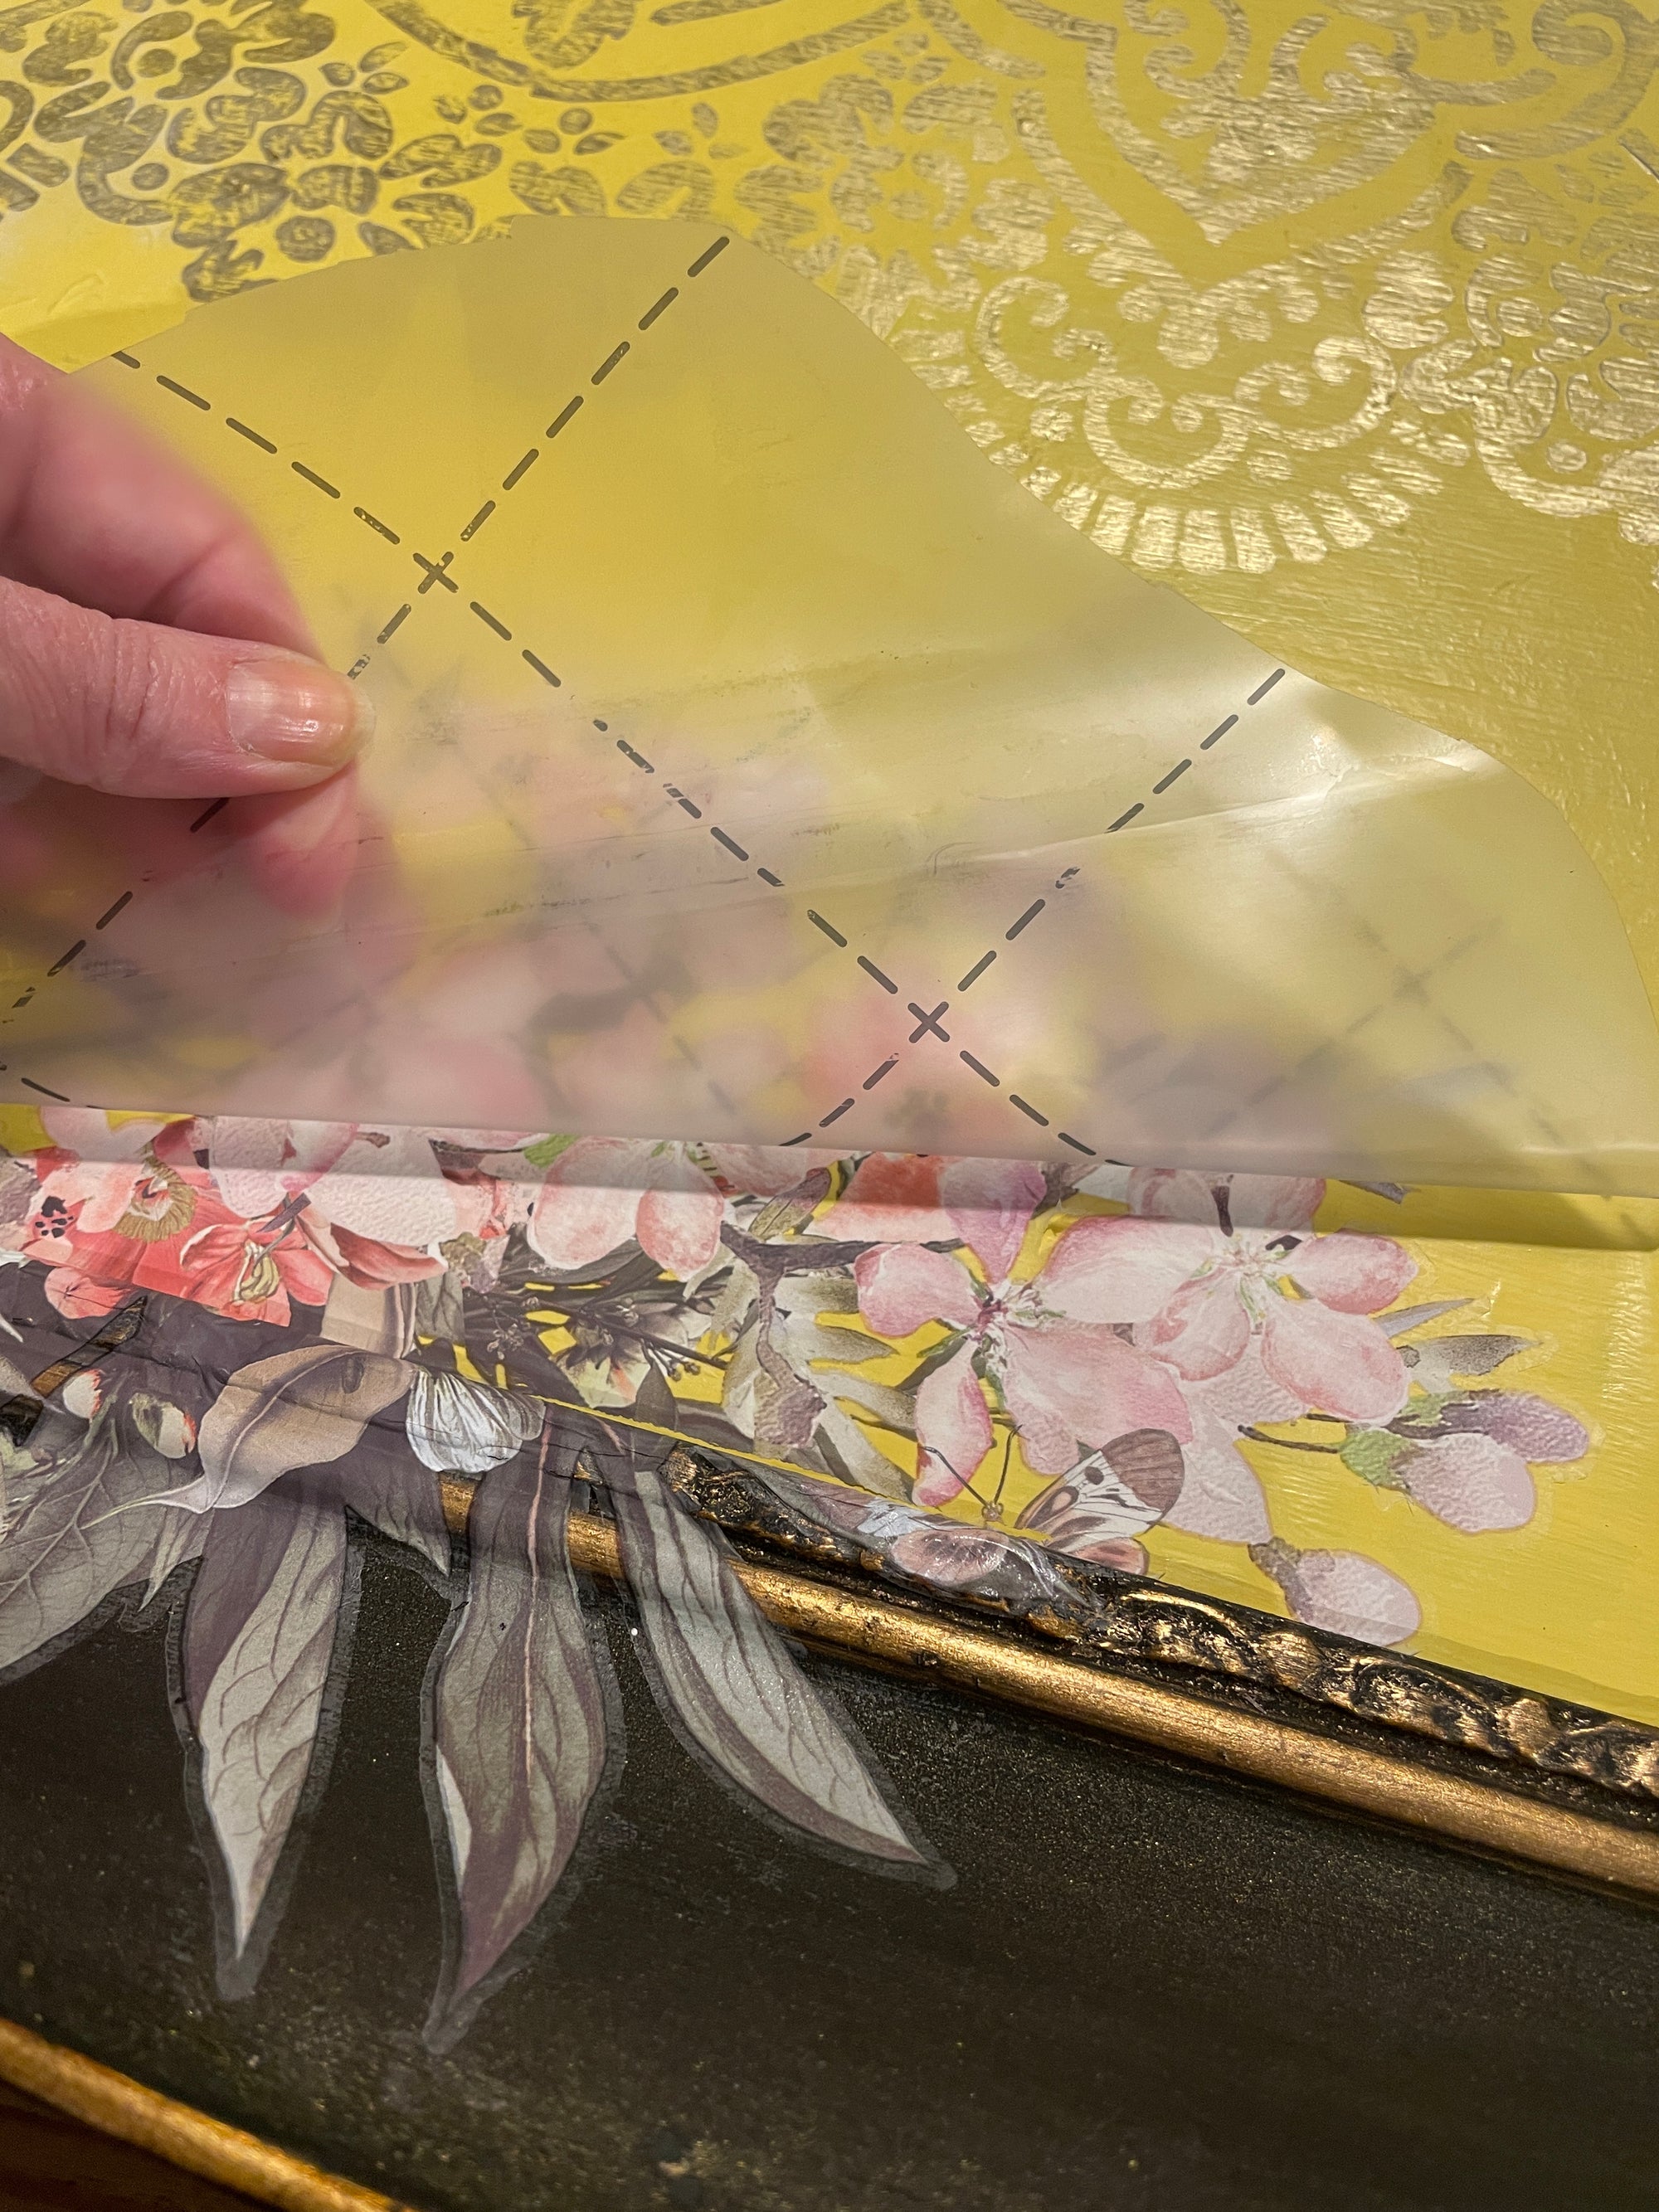
- Remove the transfer paper backing and place the adhesive-backed transfer on a clean, dust-free surface in the desired location.
- Rub the image with a wooden or plastic spatula (a metal spatula is too sharp) so that the pattern adheres to the surface underneath.
- Fade the edges of the transfer by finishing the rubbing with a soft cloth (the same thing you use for odd socks!) or a transfer pad.
How to use ReDesign with Prima transfer images :
1. Transfer images are either in a tube or in a plastic film package. The tube comes with a wooden fixing spatula.
2. Opening:
TUBE: Carefully open the tube from the end and take out the rolled-up transfer image. The roll contains 2-3 sheets. Carefully open the roll on the table.
PLASTIC FILM PACKAGING: Small transfers are on the sheets. Take out the transfer image sheet and cut out the desired parts from the sheet.
3. Open the roller. Make sure that the background paper sticks to the transparent transfer film. Use, for example, painter's tape.
4. The transfer image is extremely sensitive to sticking, so be careful not to touch the mounting surface (the white surface behind the image).
5. Measure and compose the pattern on the surface you want. You can also cut the appropriate parts out of the transfer image sheet.
6. Remove the background paper of the transfer image and place the transfer image with an adhesive surface on a clean, dust-free surface in the desired location.
7. Rub the image with a wooden or plastic spatula so that the image sticks to the surface below.
8. Fade the edges of the transfer image by gently rubbing with your finger or a transfer image pad.
9. Finally, apply wax, varnish or furniture sealer to the surface for protection.
Deliveries:
Delivery from €5.40. Free delivery for orders over €100.
Shipping methods:
- DB Schenker pick-up point
- Posti pick-up point
- Posti Home package
Orders are processed in 1-3 days. The exception is Wise Owl brand products with a delivery time of 1-2 weeks.
Returns:
Normal 14-day right of return from receipt of order.
Read the instructions for using transfer images with pictures!
More transfer photos
Decor Transfers Transfer, Dreamy Florals 45 x 30 cm
Redesign with PrimaDecor Transfers Transfer, Dreamy Florals 45 x 30 cm

