Siirtokuvat - käyttöohje

Transfer images - user manual

ReDesign with Prima transfer instructions :

1. The transfers are either in a tube or a plastic film package. The package includes a wooden spatula.

2. Opening:

  • TUBE: Carefully open the tube from the end and take out the transfer image rolled up on a roll. The roll contains 2-3 sheets. Carefully open the roll onto a table.
  • PLASTIC FILM PACKAGING: Small decals are on sheets. Take out the decal sheet and cut out the desired parts from the sheet.
Transfer in a tube
The back of the tube shows how many strips the pattern is divided into.
Remove the film roll from the tube and cut the tape. Open carefully so that the backing paper does not come off.

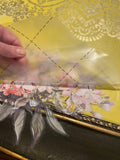
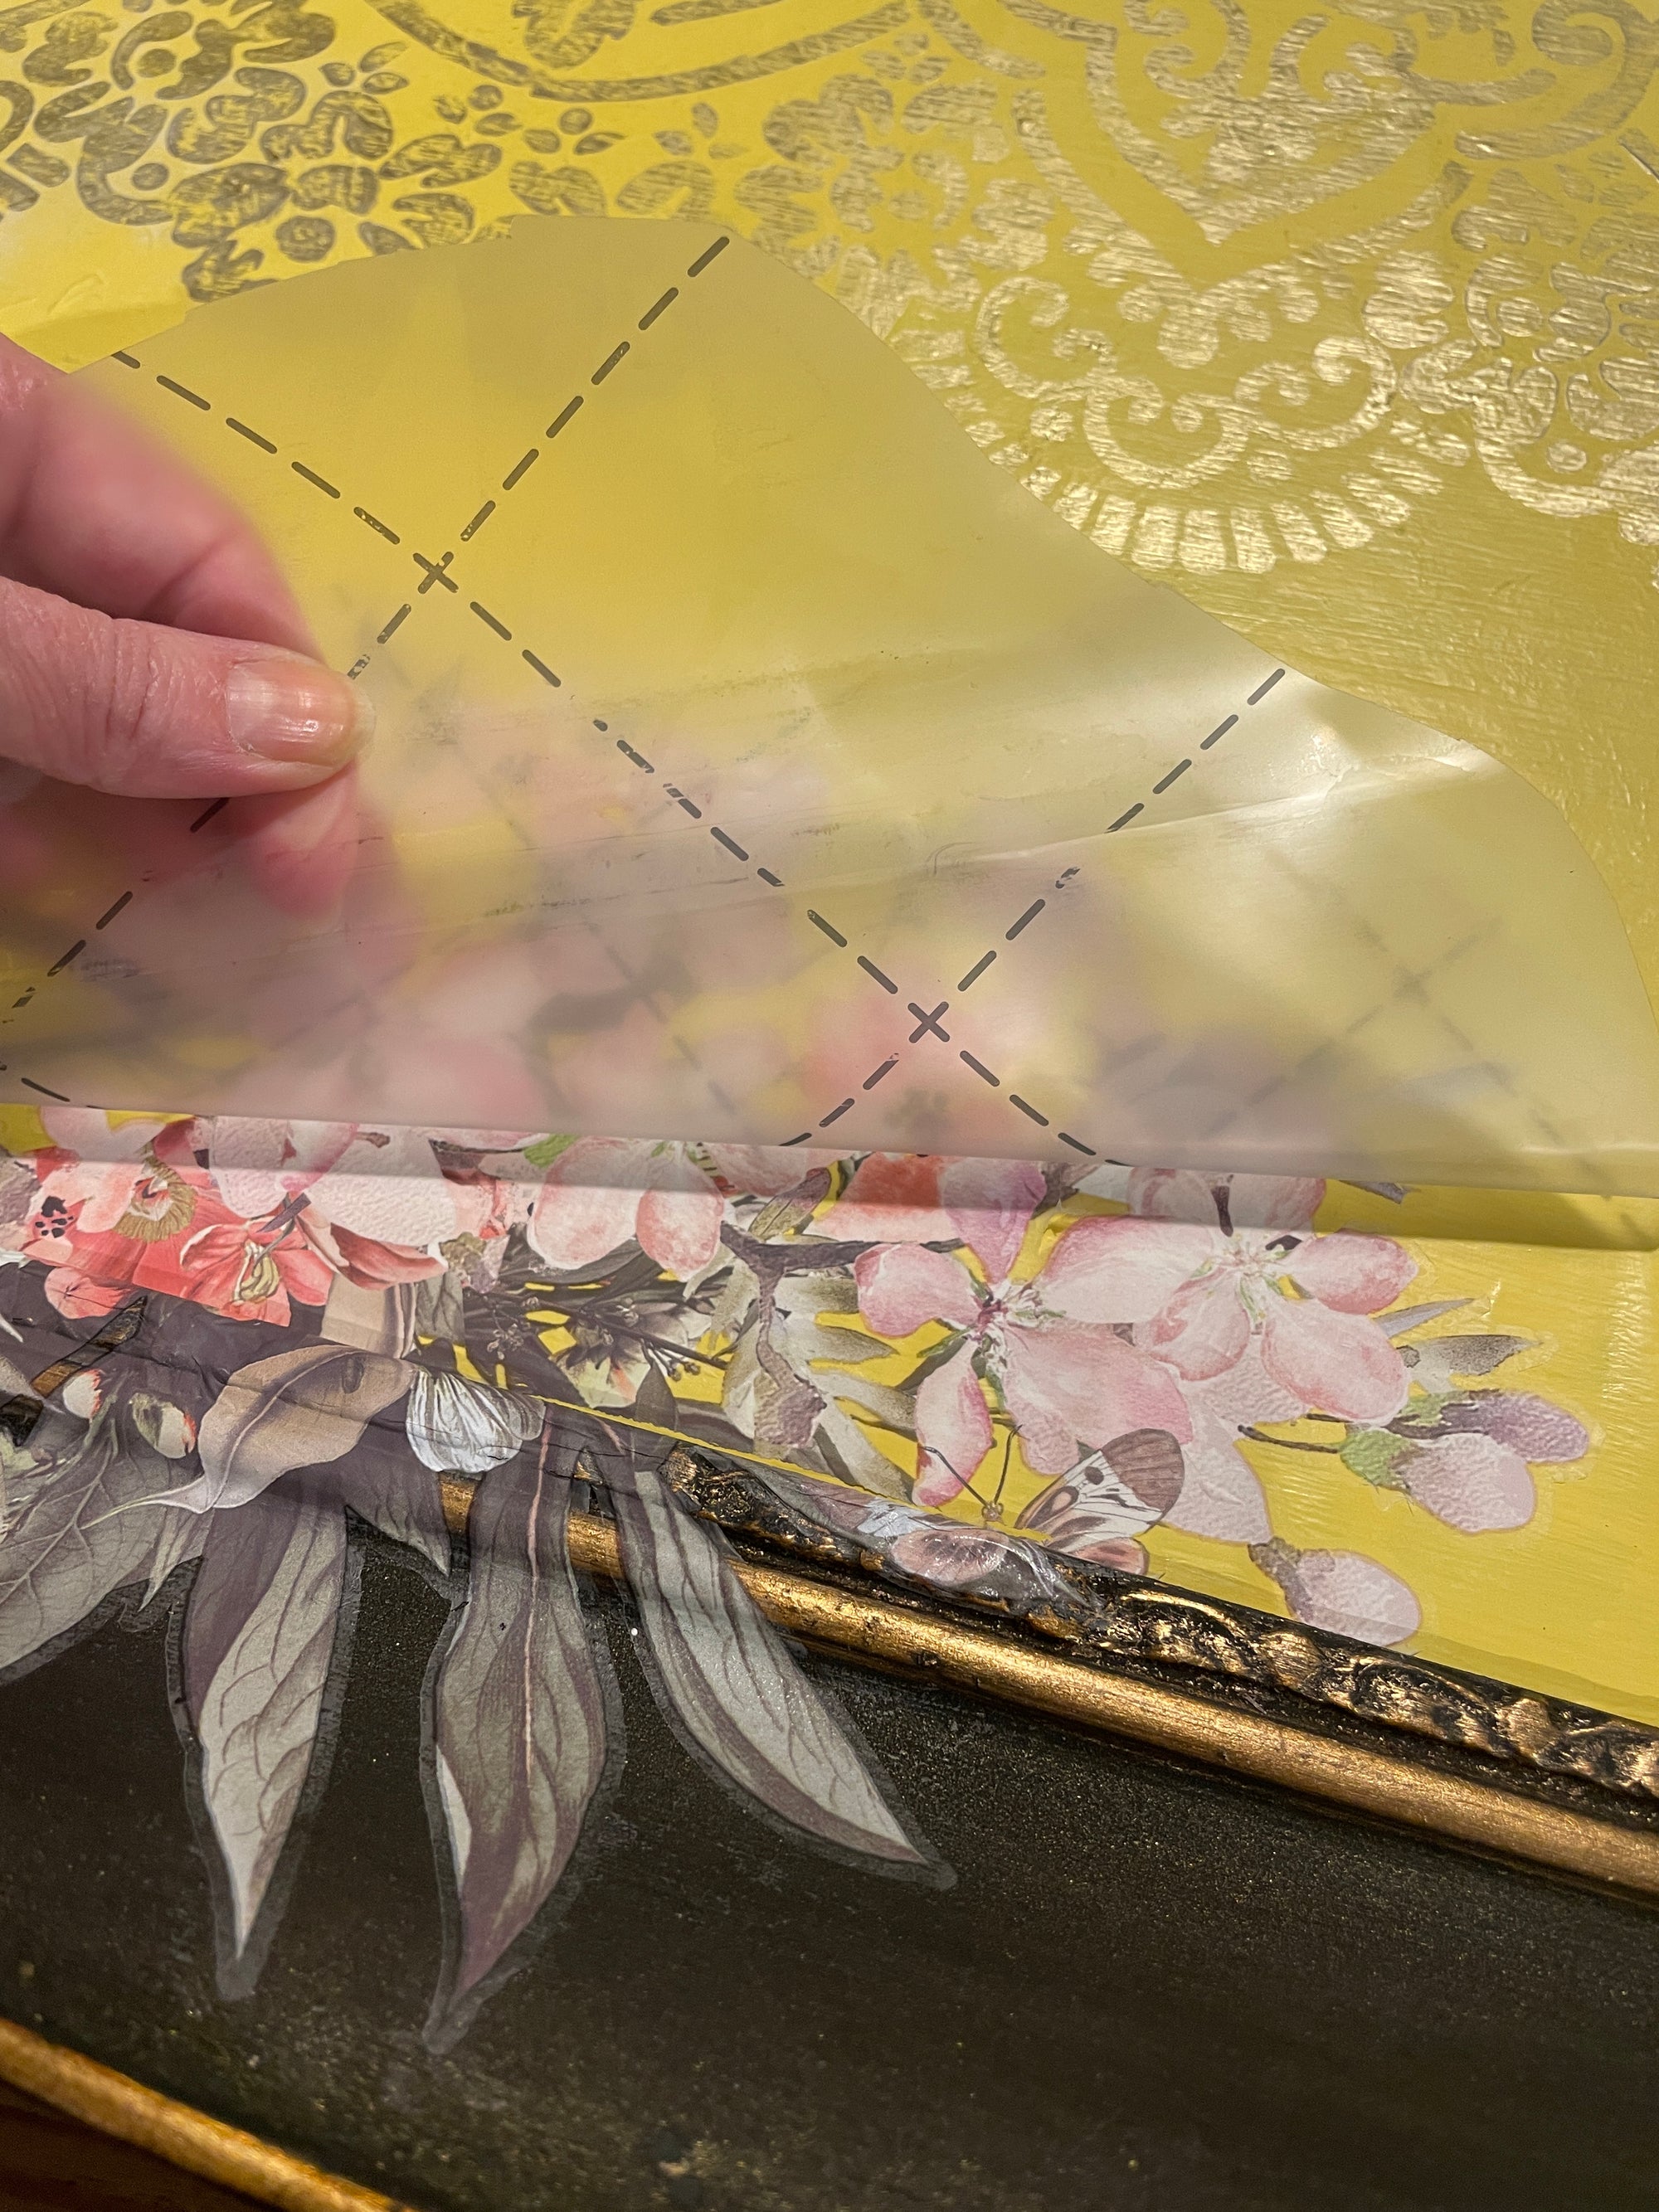
3. Unroll the roll. Make sure that the backing paper remains attached to the transparent transfer film. Use masking tape, for example.

    4. The transfer image is extremely sensitive to sticking, so be careful not to touch the mounting surface (the white surface behind the image).

    Straighten the strips and place them under pressure or secure the backing paper with masking tape.
    Straighten the strips. Place under pressure and attach a couple of pieces of masking tape to hold the backing paper in place.
    Use tape to make sure the backing paper is attached to the strips you won't be using right away.

    Cut out the desired design from the transfer strip.

    5. Measure and arrange the design on the desired surface. You can also cut out the appropriate parts from the transfer sheet.

    6. Remove the transfer paper backing and place the adhesive-backed transfer on a clean, dust-free surface in the desired location.

    Arrange it in place.Place the gripper down in the desired position and scratch the pattern off the film with a wooden stick or mounting tool.The transfer will also stick to uneven surfaces. Use the narrower edge to scrape it off.Remove the backing paper. Be careful not to touch the adhesive surface of the backing.

    7. Rub the image with a wooden or plastic spatula so that the pattern adheres to the surface underneath.

    8. Fade the edges of the transfer by finishing the rubbing gently with your finger or transfer pad.

    9. L Apply wax, varnish or furniture polish to the surface for protection.

    Once the pattern is stuck, carefully pull the film off close to the surface. If it looks like some part is not stuck. Scrape off more of the film and try again.
    It was ready in a few minutes.

    käyttöohje ReDesignwithPrima siirtokuva

    Newer Post →

    Leave a comment

    Instructions and inspiration

    RSS

    Tags

    Siirtokuvien 101 - Siirtokuvien käyttö huonekalujen tuunauksessa ja sisustuksessa
    101 käyttöohje ReDesignwithPrima siirtokuva

    Transfers 101 - Using Transfers in Furniture Renovation and Interior Design

    With transfers, you can create stunning, eye-catching changes to your interior quickly and easily. In this article, we will explain in more detail what transfers...

    Read more